Build yourself a Smart TV using Raspberry Pi 3
Raspberry Pi Media Center Kits are available since an year ago, but we understand that there are still people out confused on how reliable a Pi can be as your Media Center. Well we clear up all the lather here below. with a walk through which lets you turn your Raspberry Pi into a full-fledged media center, that is dead-silent, costs pennies to operate, and still offers enough power to play HD content with plug-and-play ease. The demonstration uses Raspberry Pi 3 in the plot as it fits well with addons like built in BLE and WiFi.
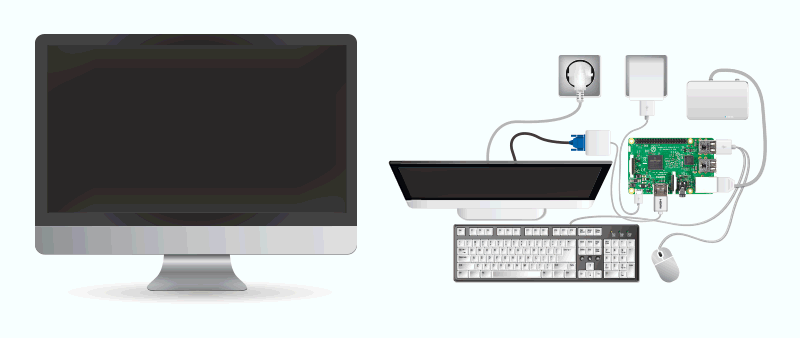
For this tutorial you’ll need:
- Raspberry Pi 3
- VGA Monitor
- HDMI to VGA Converter
- USB keyboard and mouse
- Headset or speakers
- SD card class 10 (8 GB min)
- Internet connection from a router
- Ethernet cable
As we are updating/replenishing our stock quite often, its likely that you may find the above mentioned products either out of stock or retired. If that’s the case then we will definitely have an upgrade or a better alternative available in our store. Let us know what you need (mailto:sales@rhydolabz.com), we will help you get them.
We start this session assuming that you have a basic understanding on Raspberry Pi, if not kindly go through our basic posts on Raspberry Pi.
Lets Get Started: Download and Install KODI
Kodi is a free open source (GPL) software media center for playing videos, music, pictures, games, and more which runs on Linux, OS X, Windows, iOS, and Android. This tool is to be installed in the RPi 3 to build a smart TV. Click here to get more details about KODI.
Downloading Kodi for Raspberry Pi 3. Click on disk images and download the latest release of KODI for Raspberry Pi 2/3.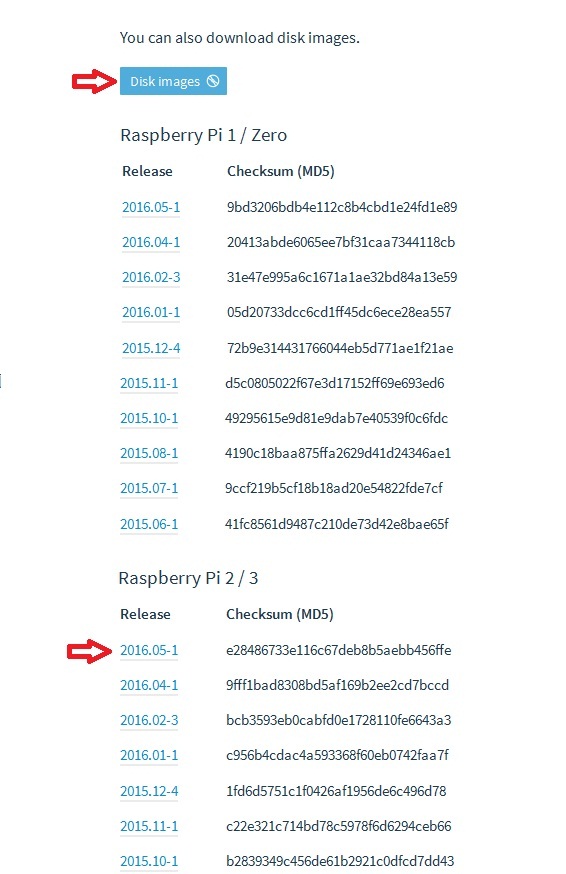
Extract the downloaded file and copy it on to a SD card of class 10 having minimum 8GB space. The downloaded content is an image file, so it should written on to the sd card using Win32DiskImager. Click here to get the detailed instructions of how to write an image file in to the SD card using Win32DiskImager.
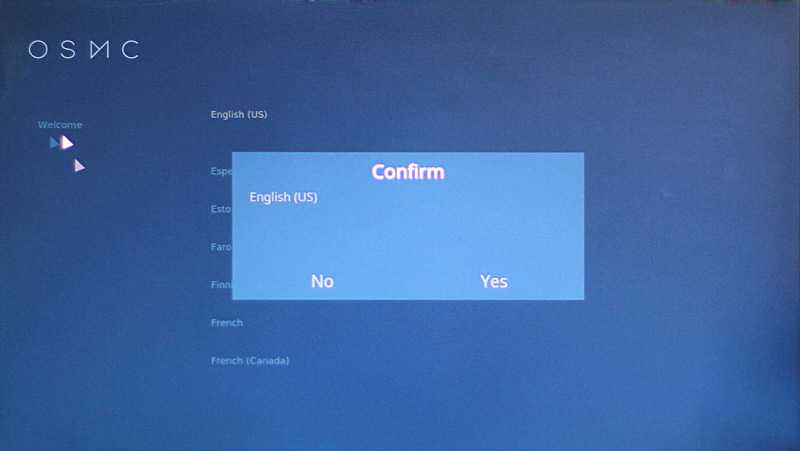
Insert the SD card into Raspberry Pi’s external storage slot and connect all the peripherals. Proper internet connection should be provided with an Ethernet cable as the WIFI will not work for initial setup. Power up the module using 5V 2A adapter and the installation screen will be appear on the monitor. The installation process will get completed in few minutes. Now you will prompted to select the language and time, check the screenshots provided below to understand further navigation. 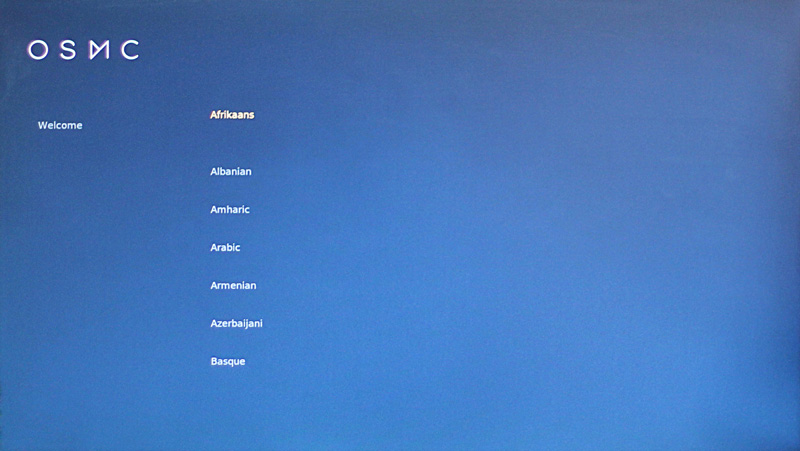
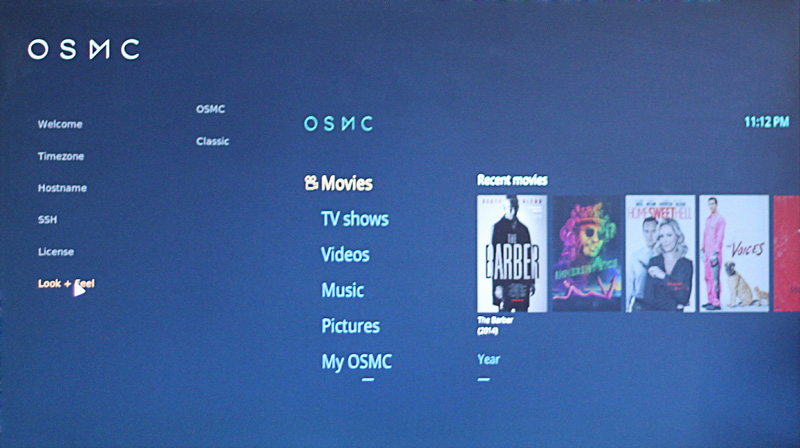 After the initialization, you could see the desktop UI as the one shown below:

Creating a New Desktop
Go to settings —> Appearance –> Skin and select the your preference. Two skins are available by default; OSMC and Confluence. Select Confluence and the desktop will be produced. We can also opt for new skin for which we will need to download and install them. A gif image given below shows the steps to customize with new skin.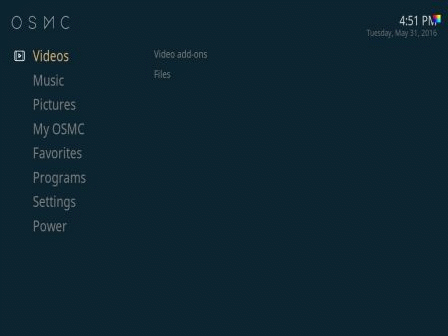
The New desktop will look like the one shown below:
Take Control from an Android phone
Now we can avoid the keyboard and mouse, then control it by using an android phone. Download the official Kodi App Yatse from Google Play and install it on your android phone. To begin with, we will have to create a WiFi connection between the Pi and phone. Create a portable WiFi hotspot on your phone. Now select the programs menu from Pi desktop and then select My OSMC,. The following screen will appear:
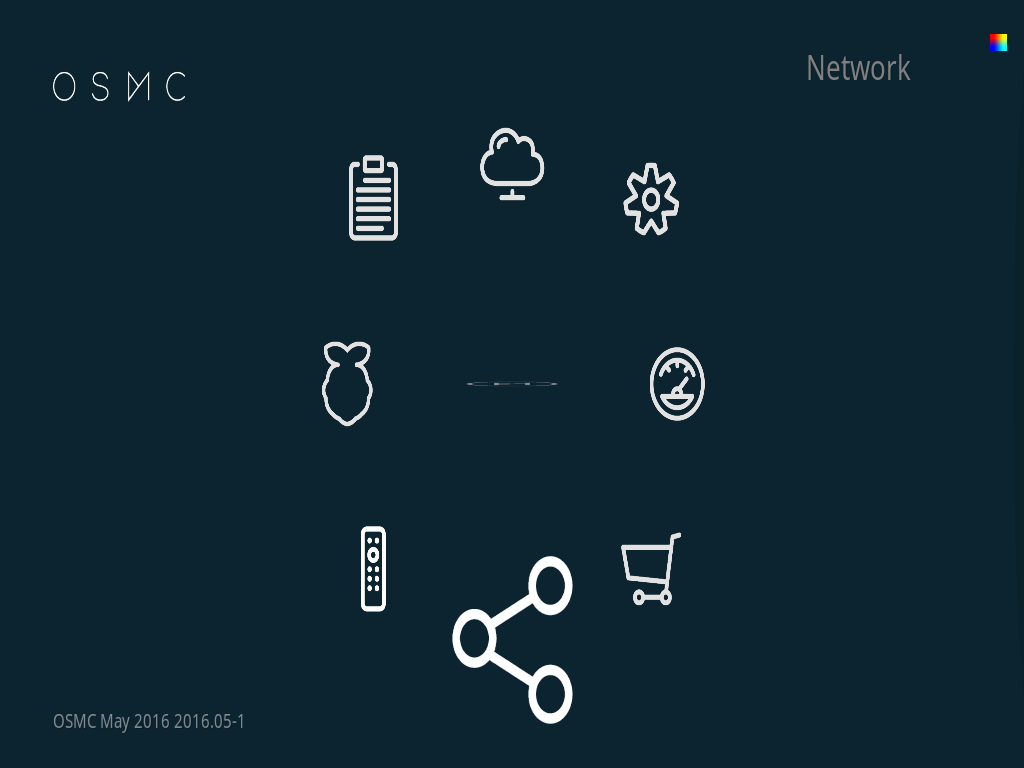 In the newly open Network Window, set the network parameters as show in the image below and then select the wireless option. Click Enable Adapter option to enable the WiFi adapter. On the right side we can see the available networks and from that choose the desired network. Enter the correct password for the selected network and make the connection.
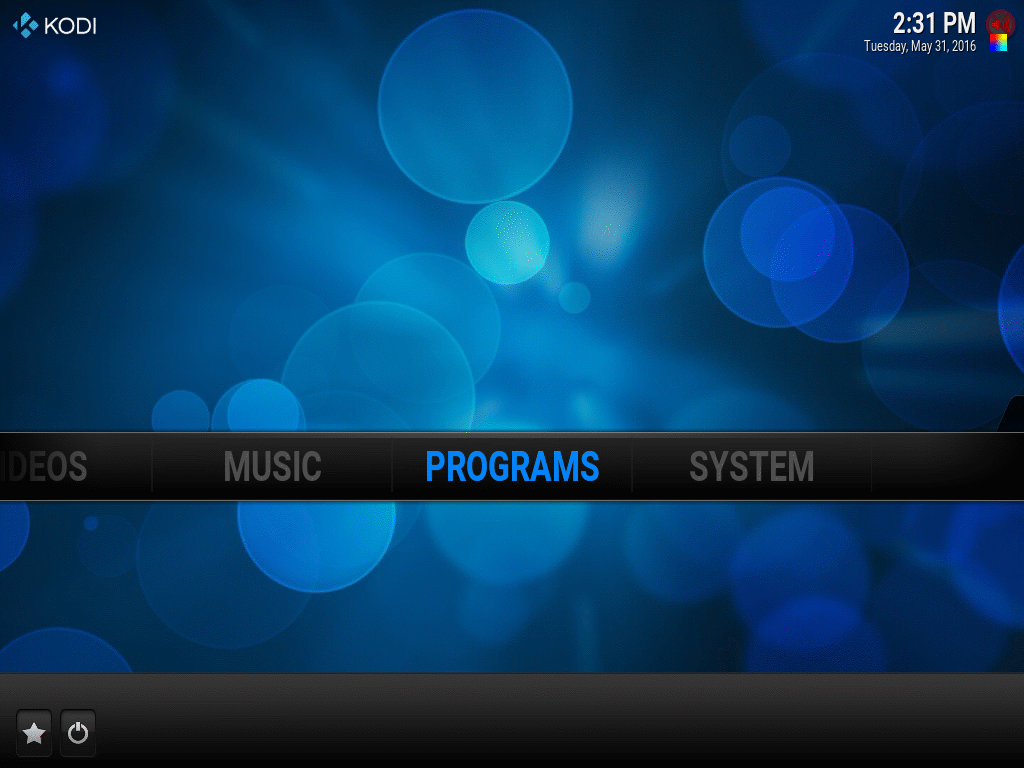 Open the Yatse app and click on Add Host.
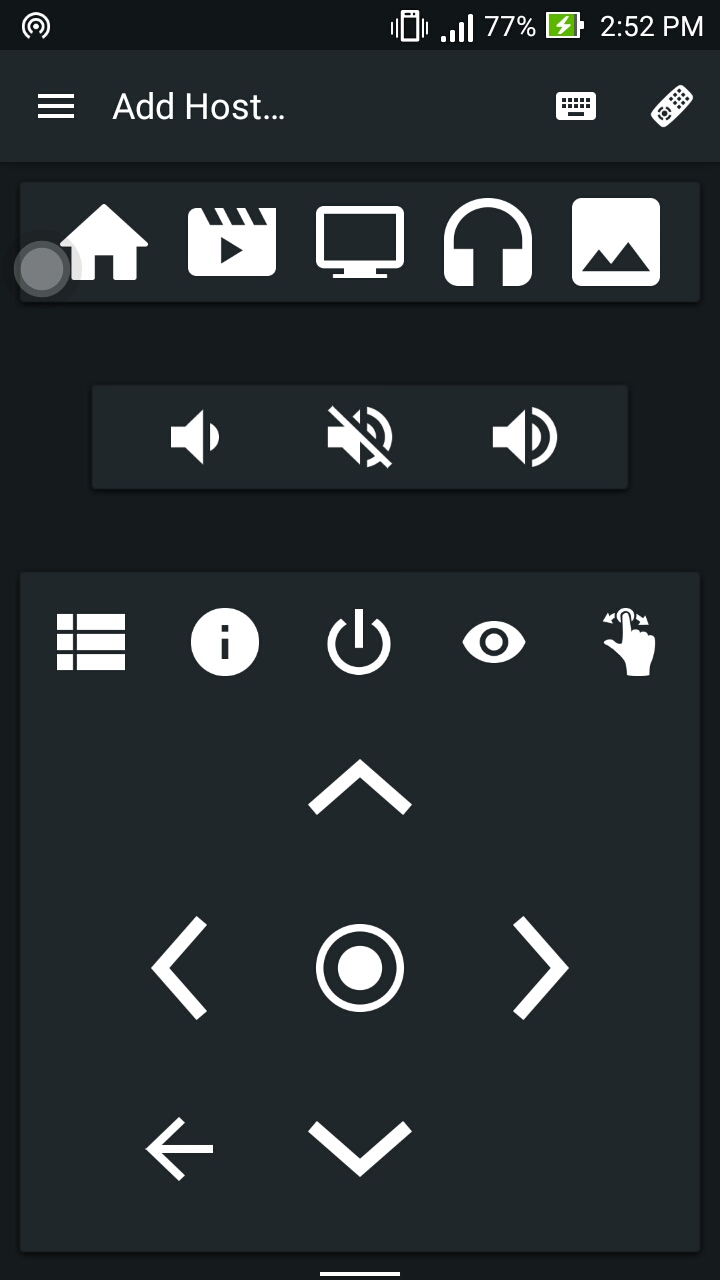
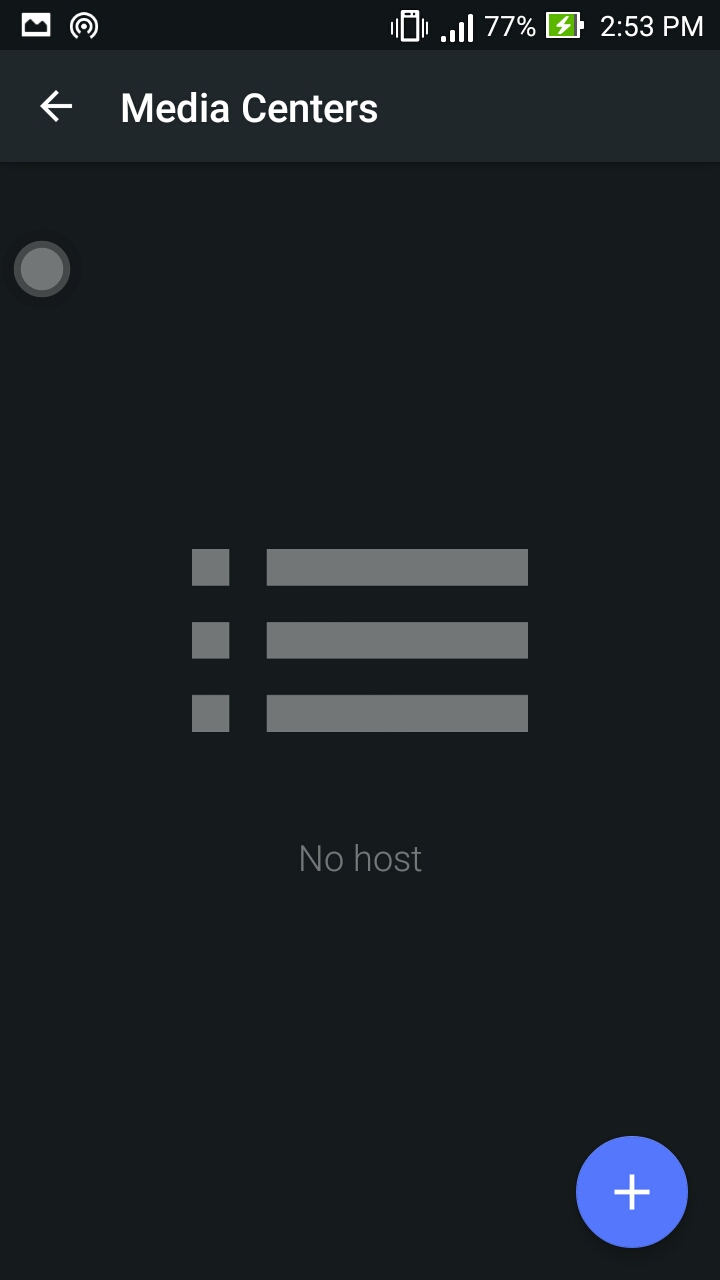 Click the + symbol on screen.
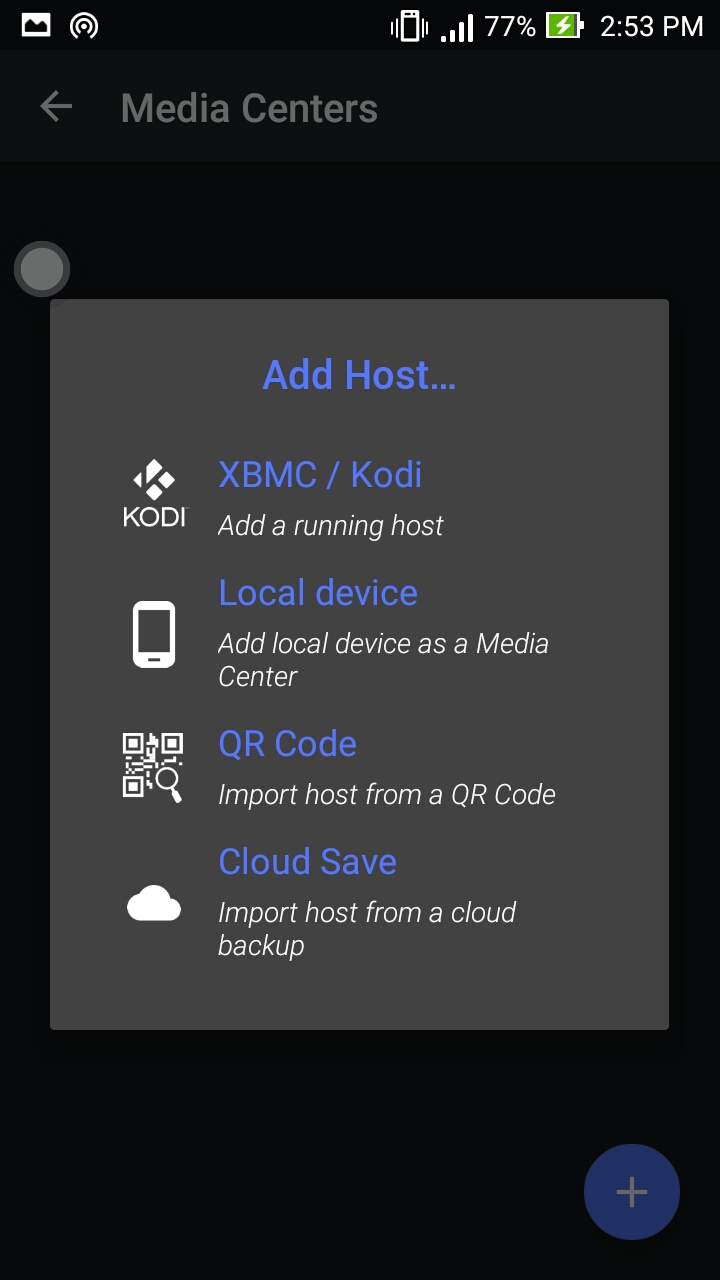 Select the first option named as XBMC/KODI. A new screen will appear with a notification as no hosts detected . Click the next button.
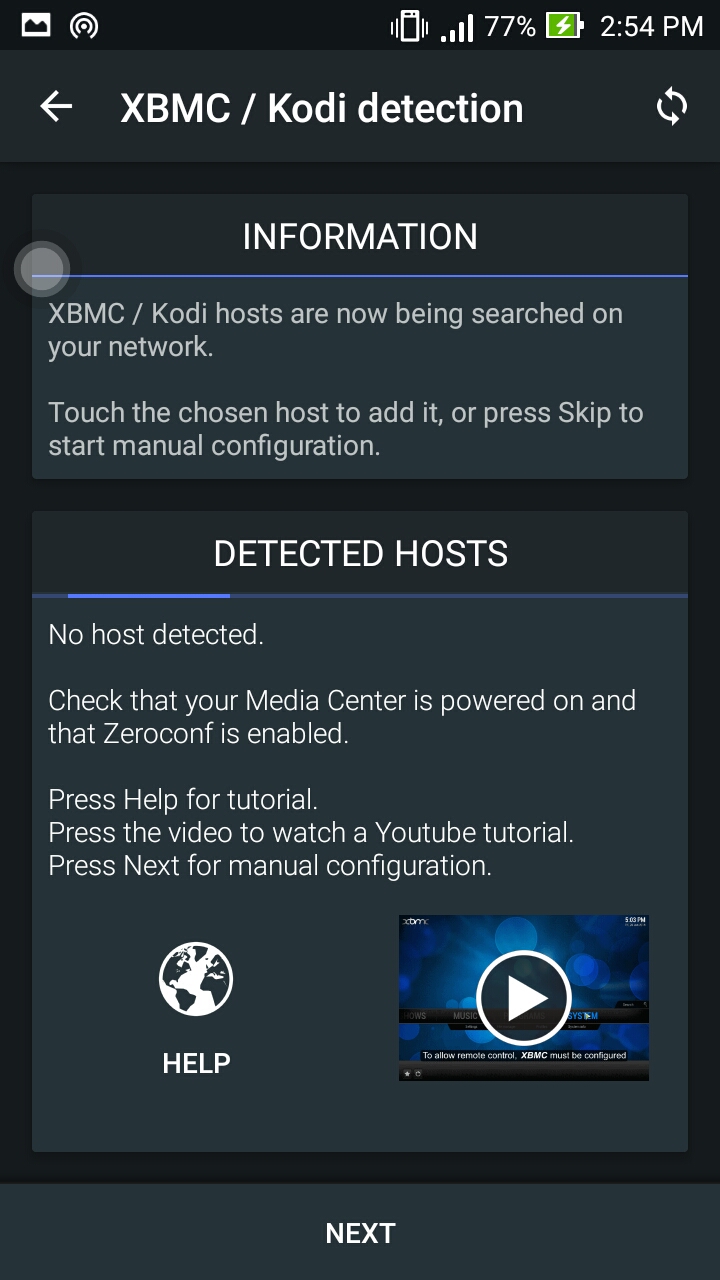 In the new window type the host IP, i.e your Raspbarry Pi IP and also give a port number.
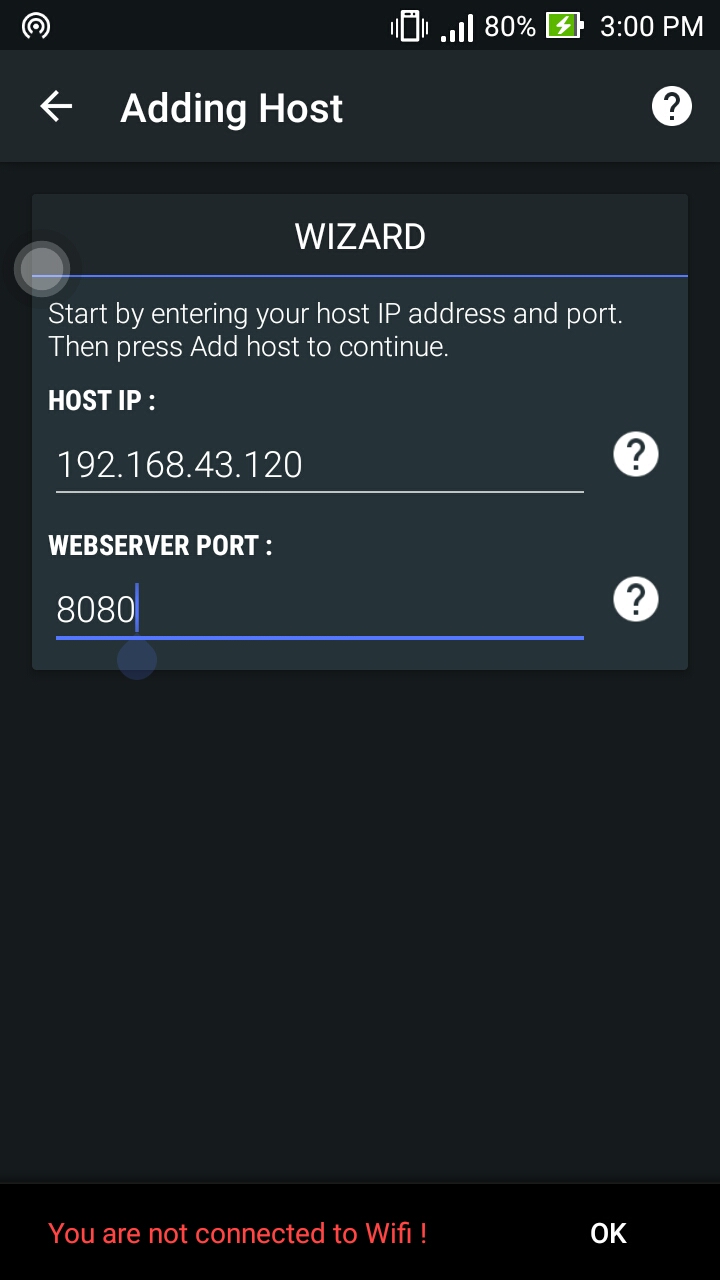
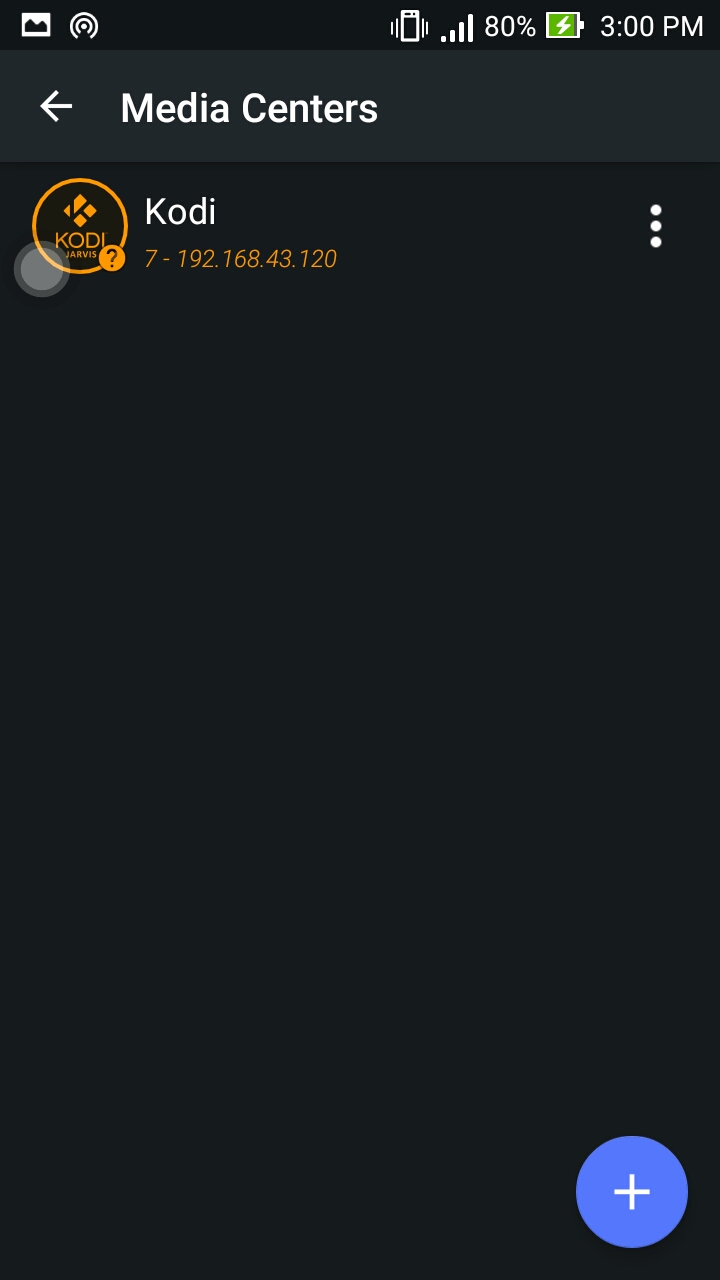
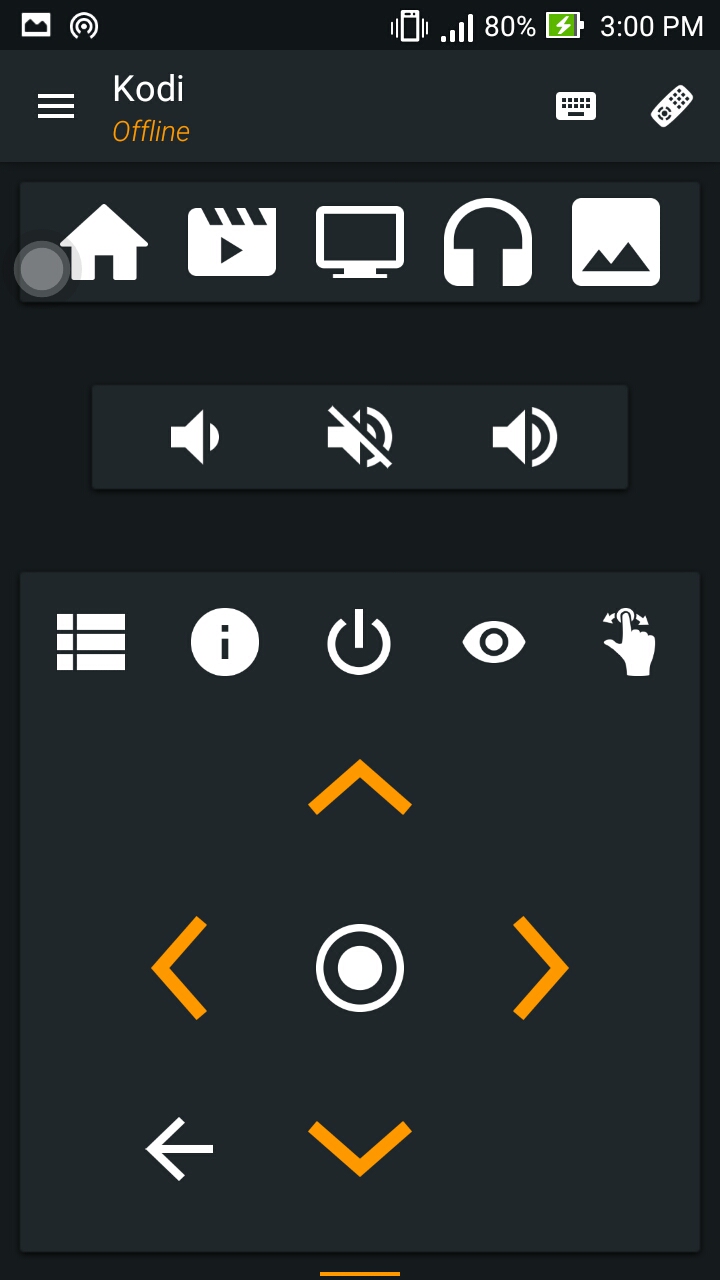 Now our Android phone will act as a remote control for the RPi3 based smart tv.
Share Data with a USB mass Storage device
Connect a pen-drive to the RPi3 and select the option System –> File Manager.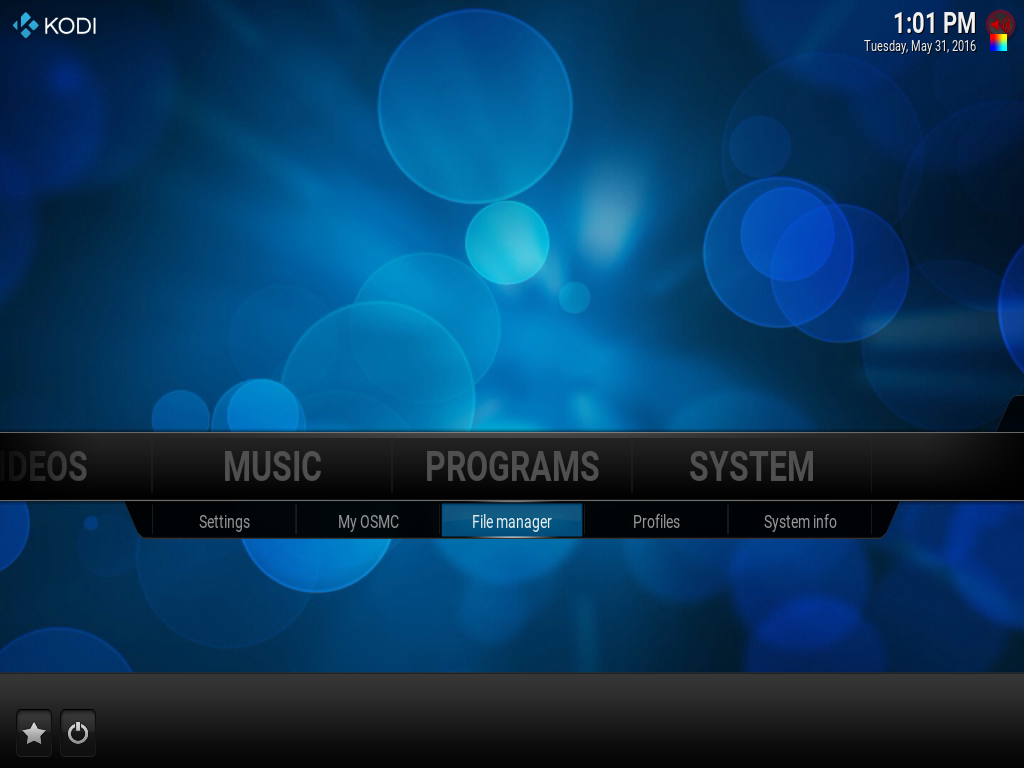 A new screen will appear as shown below:
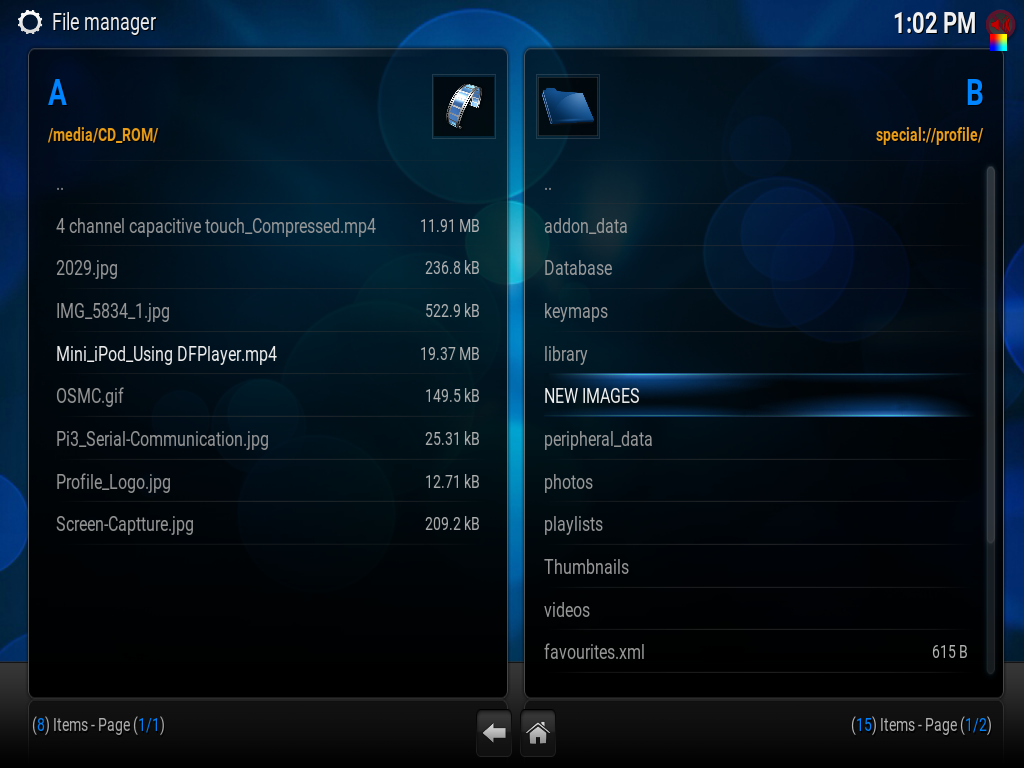
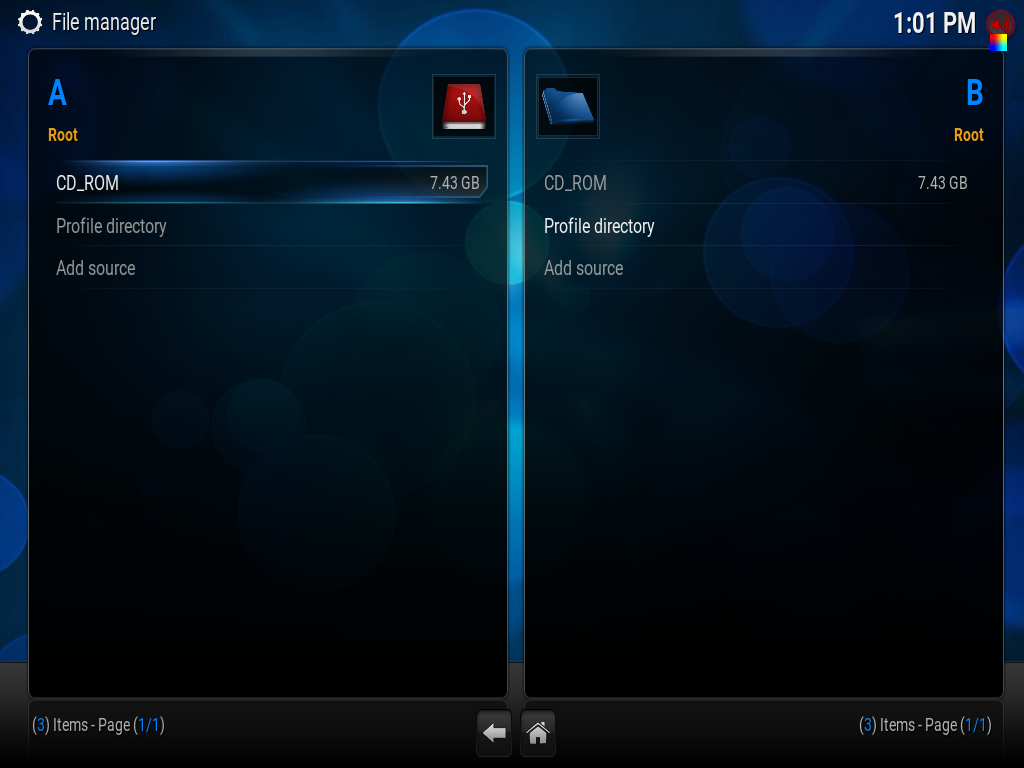 A partitioned screen is showed where the data can be shared from A to B and B to A. In the B side open the profile directory and create a new folder using the right click option,
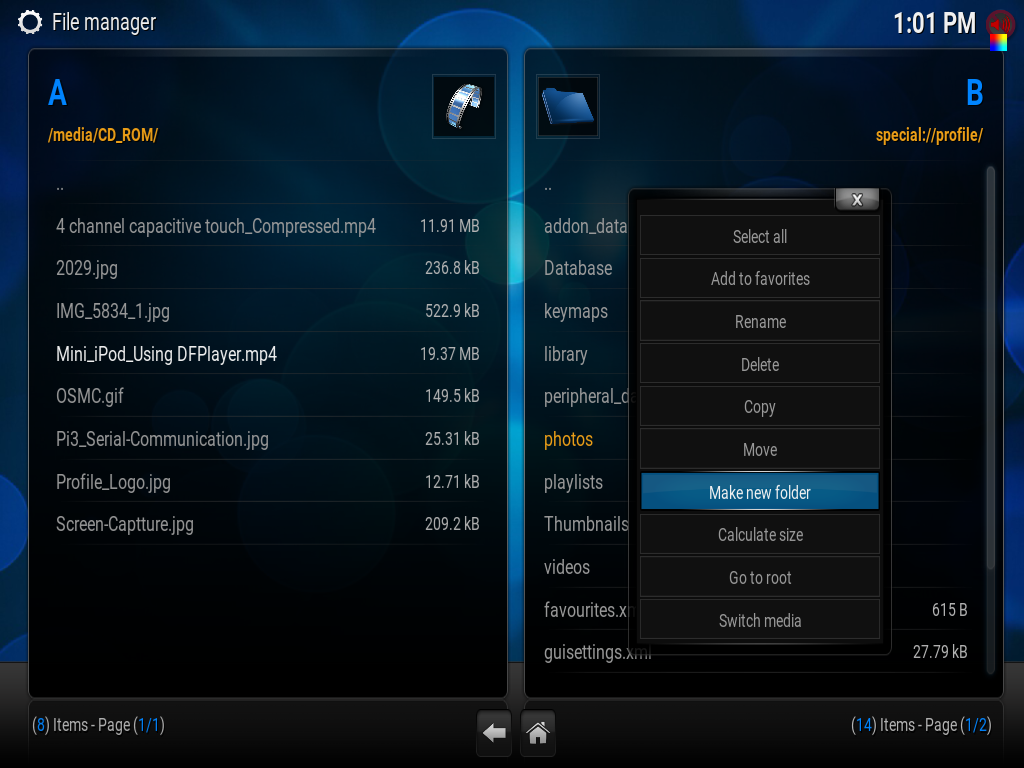
 Now i am copying an image file and an mp4 file from the pen-drive to the RPi3. Open the Pendrive from A side and right click on the file that is to be copied and select the copy option.
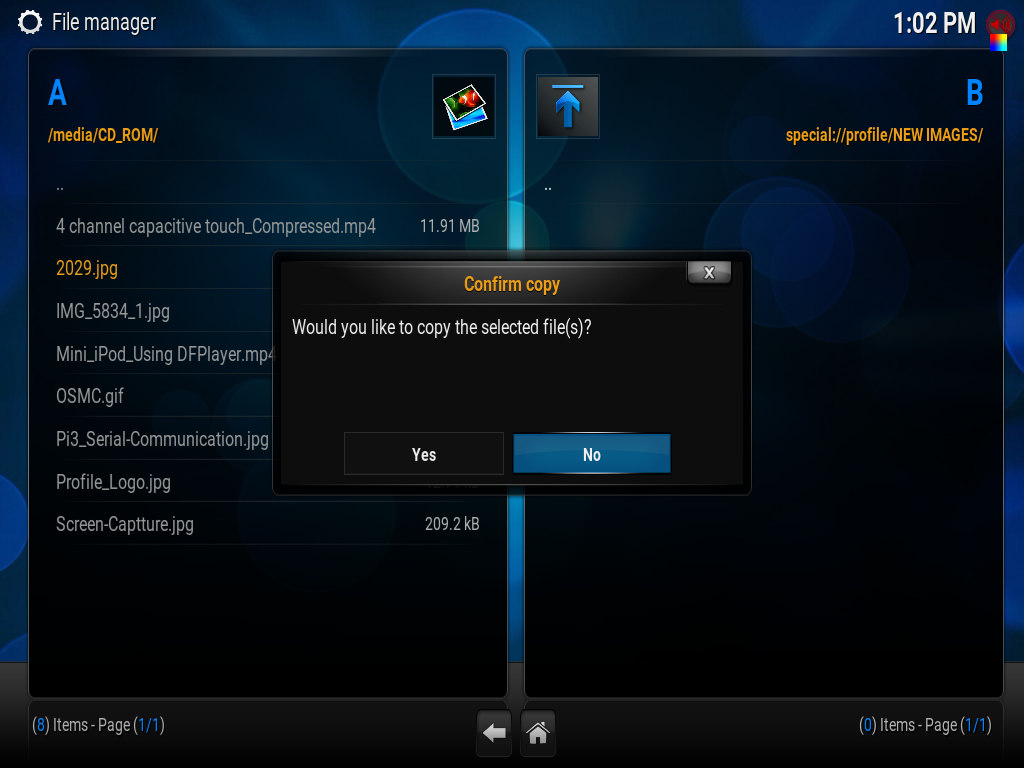
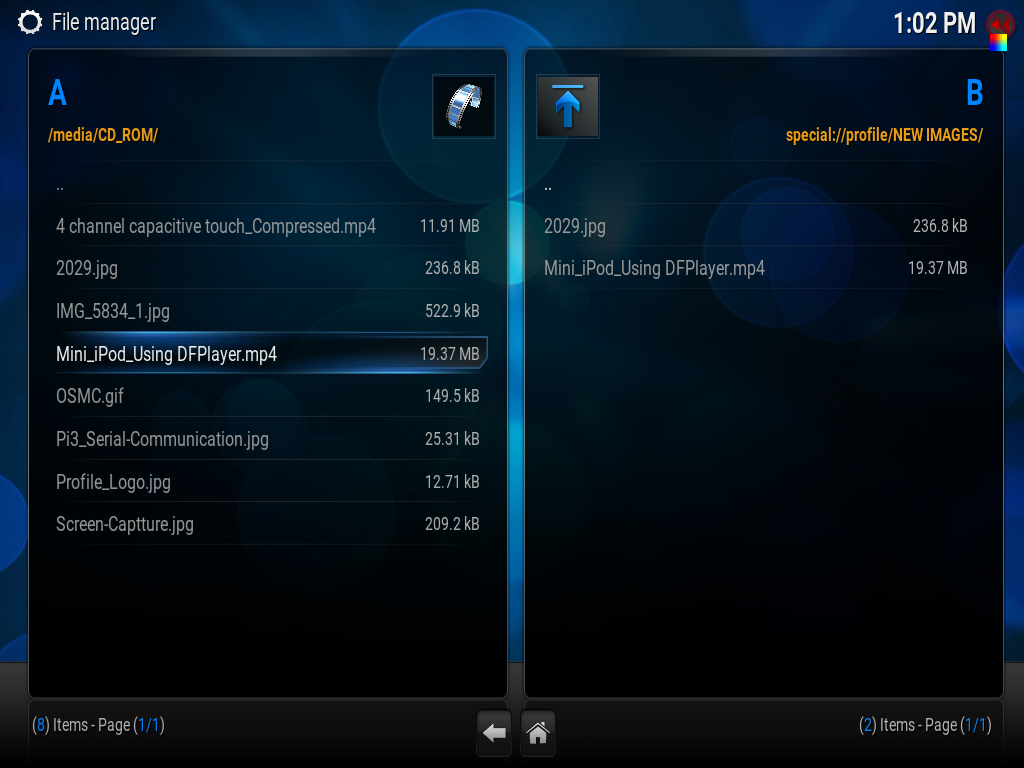 Open the image and video files and control it with the app installed in the android phone.
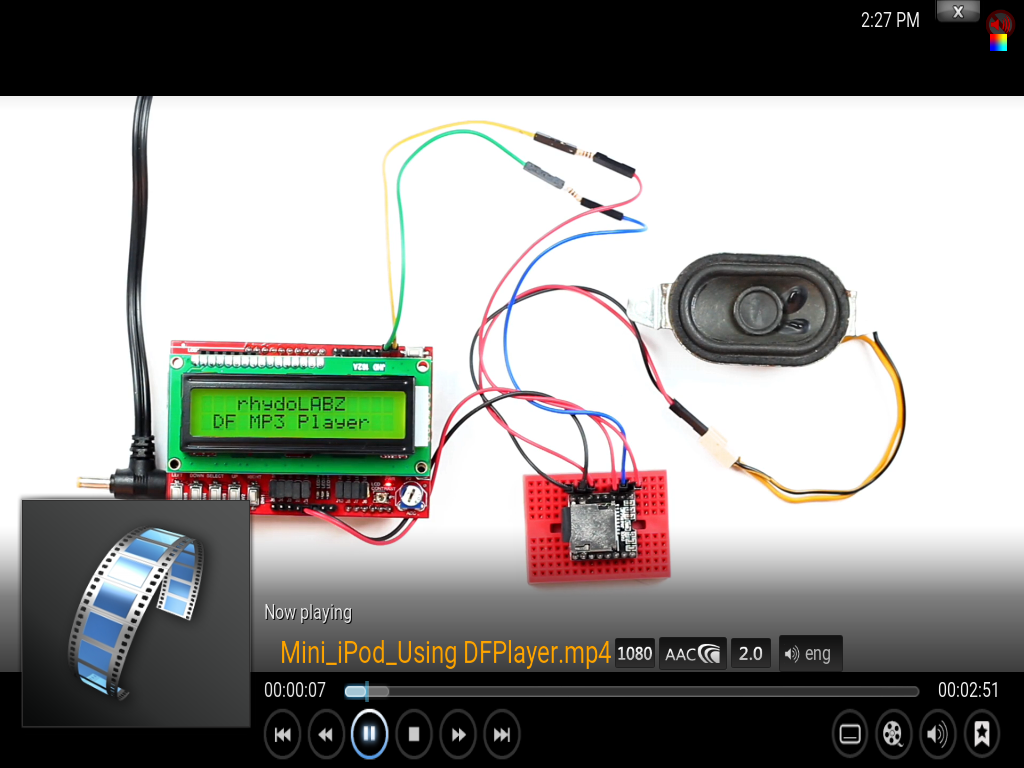 Install Add-Ons
We can install various apps in the KODI tool to make it more smart. For example a YouTube app is installed in this software to view more videos. Select the Add-ons option in the videos section, a new screen will appear.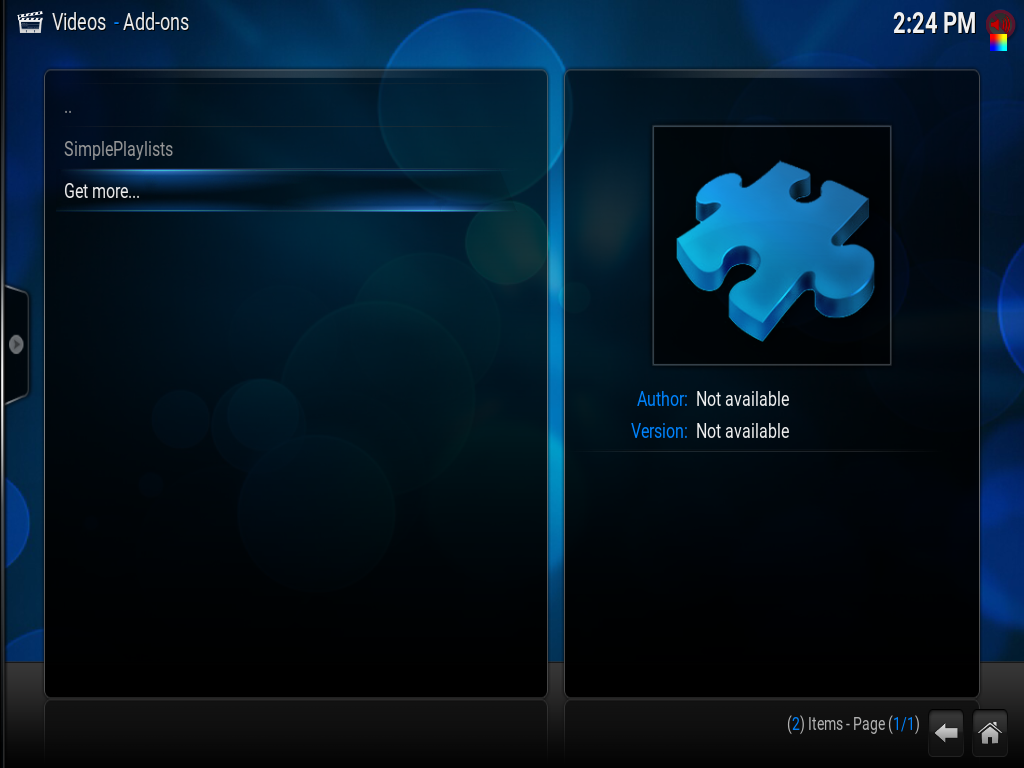 Click on the get more option to get more available add-ons. Now you may select YouTube and click install
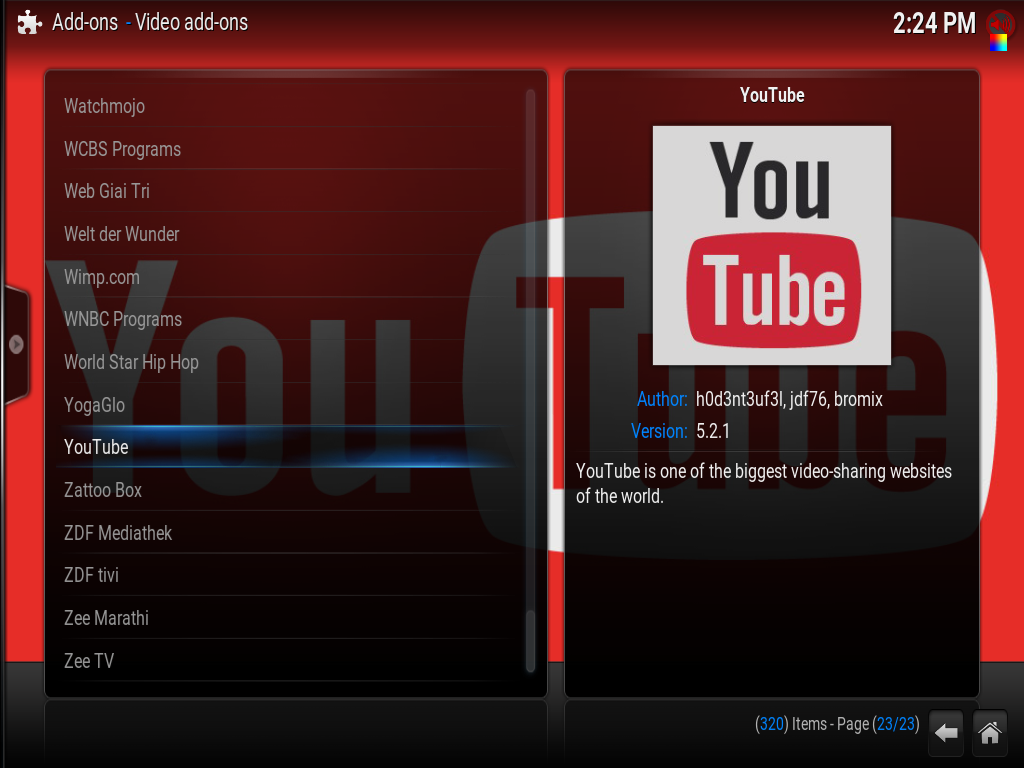 Now Youtube is installed and we can view more videos. Thats it! So how did you feel about this walk around? Feel free to share your thoughts with us. And try yourself with a whole new smart tv experience!! 🙂
Leave a Reply
You must be logged in to post a comment.