Real time Surveillance System using Raspberry Pi 2 and Webcam
No matter what you are doing with your Pi, whether it be an Academic project or Hobby Project Surveillance and Security are hot topics in the list. Here we provide the guide to build a Surveillance system using Raspberry Pi 2 and a webcam. The system gives you remote monitoring access (from your PC, laptop, or cellphone) via local WiFi network. If you already own a Pi then there is no need to spend anymore for this project, as you may already have a webcam as well.
With processing power of Pi at will, we can easily integrate motion detection and save the motion detected images. This would be a helpful upgrade to our present surveillance systems. How could that be? Simple, the motion detection feature simply eliminates the need to review entire tape. Thus the system comes handy in surveillance applications where the images are saved only when a person or a group enters in to the frame.
Modules Needed
- Raspberry Pi 2
- Compatible Webcam
- WiFi Modem
- 5V, 2A Adapter
- Ethernet Cable
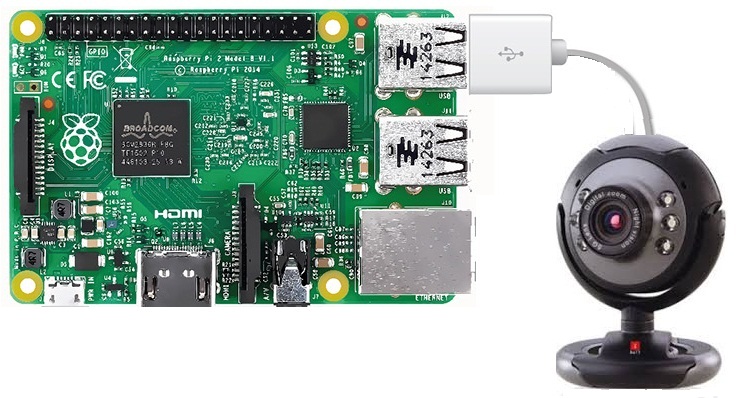
Connect all the peripherals (webcam) to your Raspberry Pi and provide Ethernet connectivity to it. Power up the system and open the LX terminal. Now type in,
sudo apt-get install motion
and press the enter key.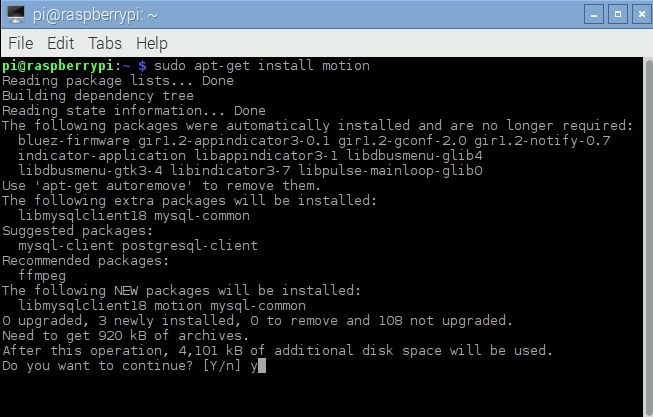 As shown in the figure above, it will ask for confirmation. Type y and press the enter key, the installation will be completed within few seconds.
 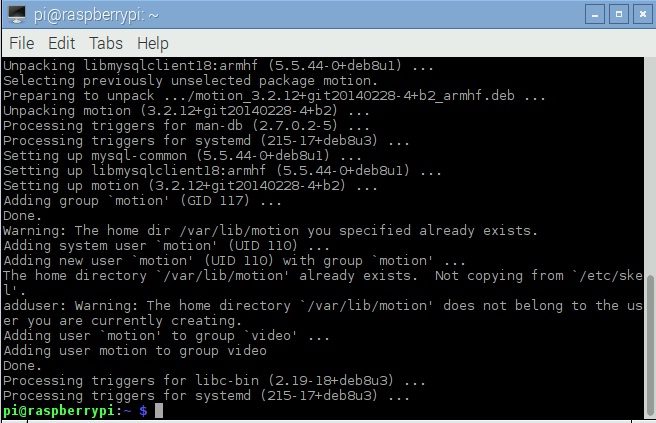 The system should be ready made to work, i.e once we power up the system it should be functional without any command input. For which we will have to edit the configuration file (as follows):
Open the LX terminal and type in:
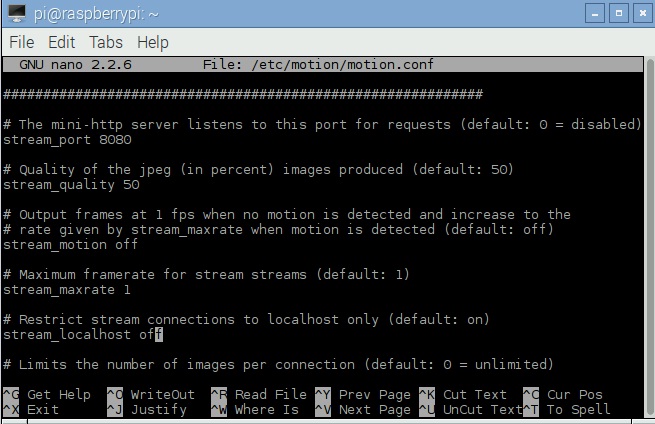
sudo nano /etc/motion/motion.conf
Two parameters needs to be changed in the configuration file.
daemon off (change it to on)
stream_localhost on (change it to off)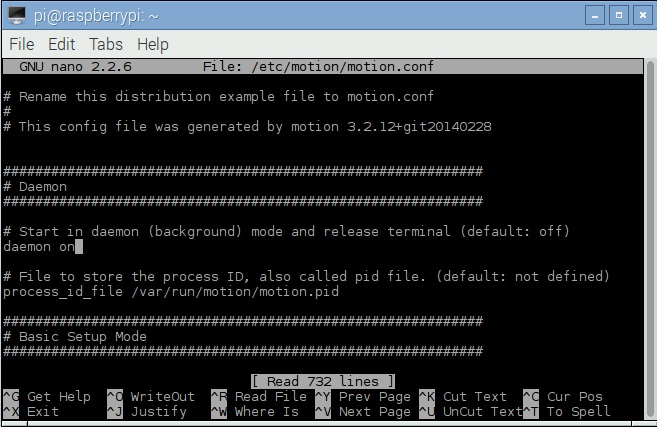
 After editing press Ctrl+x to exit and press y to save the changes, then press the enter key.
The next step is to enable the motion service. Open the LX terminal and type in:
sudo nano /etc/default/motion
start_motion_daemon = no (change it to yes) and Save the file as mentioned before.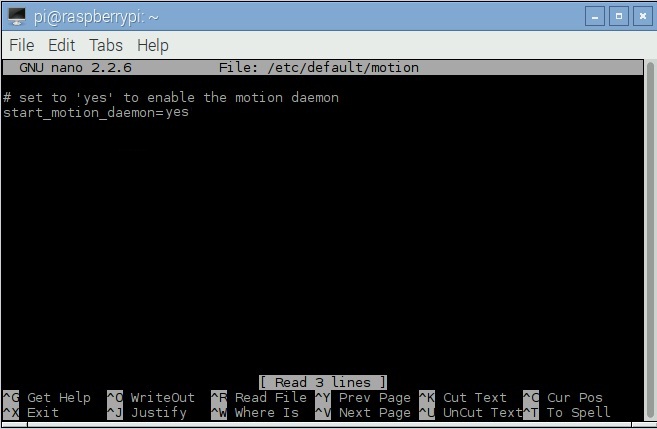 Get the IP address of the Raspberry Pi by typing hostname -I in the terminal. the default port will be 8081. Now reboot the Pi and the system will be active on surveillance. Open up a browser window on your PC, with WiFi access from the same router. In the address bar type in the IP address and Port number corresponding to your Pi. Eg; 192.168.1.5:8081
Now you can see the live streaming on your PC. To stop the streaming, type sudo service motion stop in the terminal. If we want to start again type, sudo service motion start in the terminal.
By enabling dynamic domain services to our local network it is possible to have a live streaming accessible from anywhere, using a proper internet connection.
Leave a Reply
You must be logged in to post a comment.