Voice recognition using Raspberry Pi 3
In this tutorial we perform Voice recognition, an extremely complex visual task, almost instantaneously. Our own recognition ability is far more robust than any computer’s software can hope to be. We are able to recognize the voice of several thousand individuals whom we have met during our lifetime. Here the focus is towards developing a sort of unsupervised pattern recognition scheme that does not depend on excessive geometry and computations like deformable templates. A voice recognition software is installed on the Raspberry Pi 3 which works with the help of internet. Raspberry Pi 3 has inbuilt WiFi and it fits the application very well, as internet access comes with ease from an access point5 or even from a hotspot. Click here to get the details for configuring WiFi in RPi 3.
Google Voice and speech APIs are used by the application software to perform voice recognition and thats why internet connectivity is a must have for this project. What happens here is speech to text conversion in simple words. The result will be a text corresponding to the input speech on USB Microphone.
Required Items:
- Raspberry Pi 3
- USB Microphone
- Internet Access (using Ethernet cable or WiFi)
Raspberry Pi does not have a sound card and therefore it wont support microphones on audio jack, so we would recommend a USB microphone or a USB webcam with built-in mic.
Power up your Pi with all the peripherals connected (ensure the Pi has internet access). Firstly, we would need to check the microphone connected to it. Open up the LX terminal and enter the command, alsamixer. Following the command, a new window will open up: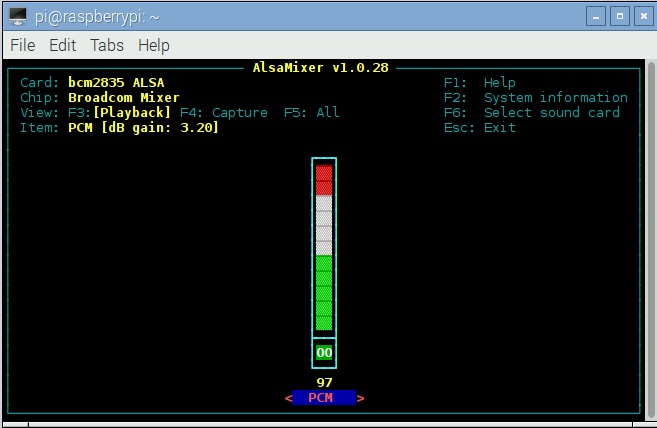 Access the UI and there in you can adjust the volume (use up/down arrow keys). Press F6 to select the microphone from the list and control the recording volume by pressing the up/down arrow keys.
So, before starting, lets test our microphone. To test the mic, we will record a sound and then play it. Enter the following command in LX Terminal:
arecord -D plughw:1,0 test.wav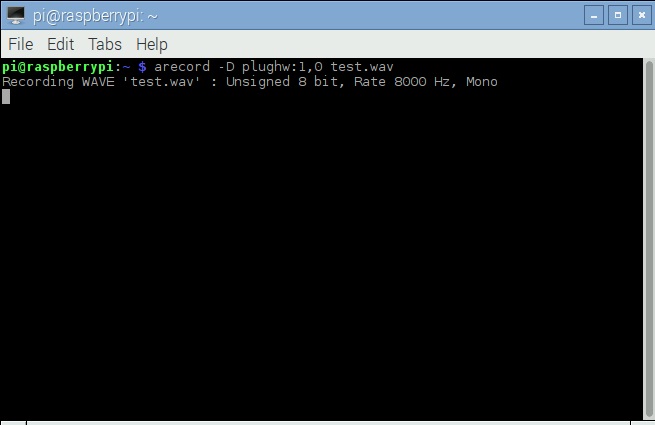
Just do your test record and it will be saved as test.wav 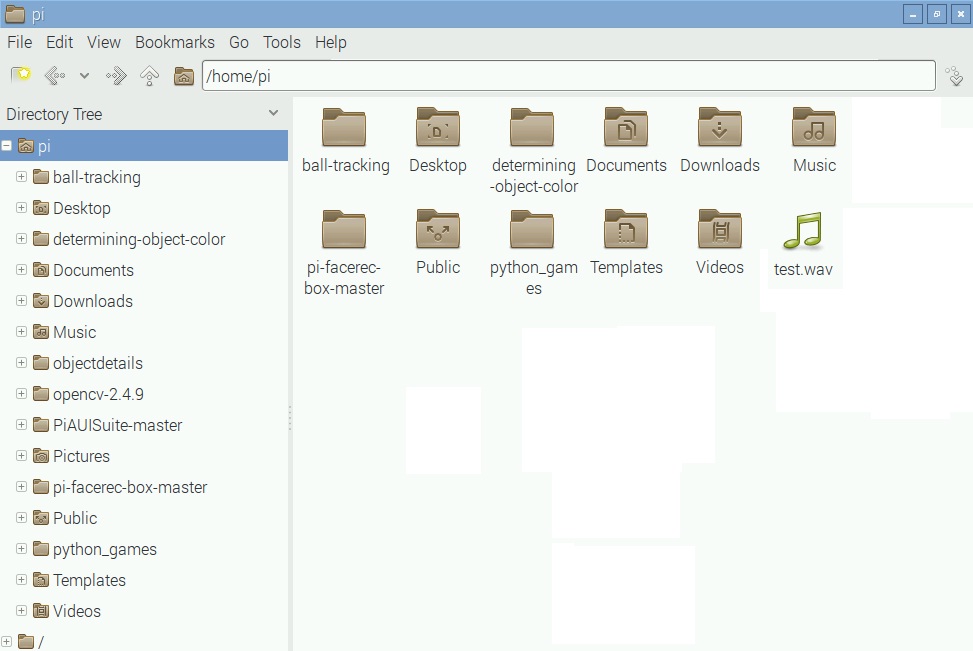
To play the this file, enter aplay test.wav in the terminal.
Installing the Voice Recognition Software
Download the software from this link. Extract all the contents to the home folder and open up the LX Terminal.
Type in cd PiAUISuite/Install to change the directory.
Then type sudo ./InstallAUISuite.sh.
During installation many confirmation questions will likely pop up. Read the questions clearly and press y/n to select the preferred option.
Once the installation is complete, reboot the Pi. Open up the LX Terminal and type sudo voicecommand to check whether the application is working or not. After entering the command say ‘hello’ to your microphone. If its working fine, text ‘hello’ will be printed on the terminal: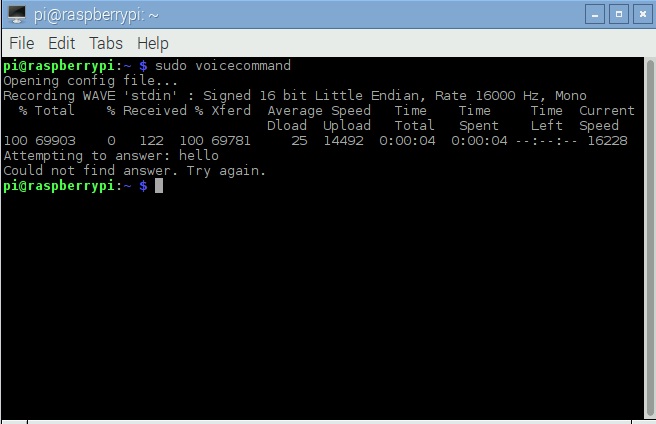
Editing the configuration file
The voice command input is converted to text using google voice API. By configuring the application files accordingly, we can enable the Pi to act upon our voice command. In this example, we control an LED connected to Pi. It can be switched on or off as per the users voice command. For which we would need two programs, one to switch on and the other to switch off. Click here to get the details on how to blink an LED using python script. Save the programs as test12.py and test13.py.
When we say ‘LED ON’, the test12.py program should run and the LED glows. And when we say ‘LED OFF’, the test13.py should run to switch off the LED. To do this edit the configuration file as follows. Type in:
sudo voicecommand -e , a new screen will open as shown in figure: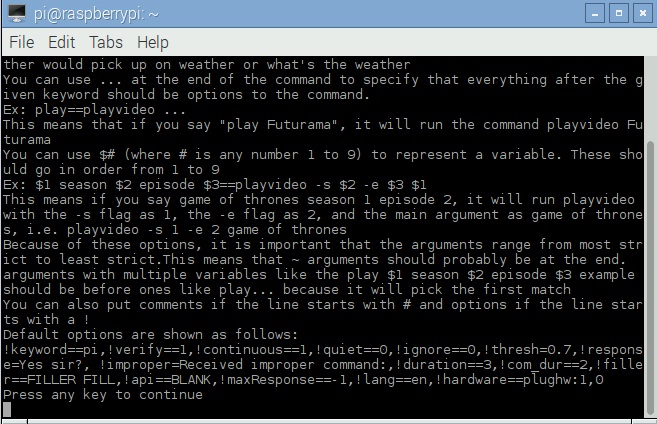
Press the enter key to continue and the new configuration editor file will open up. Enter the commands in the editor as shown in the figure below: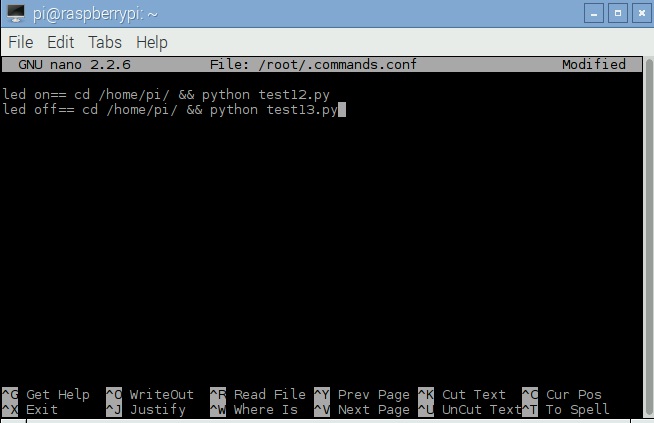
Save the file by pressing ctrl+x. and then enter y.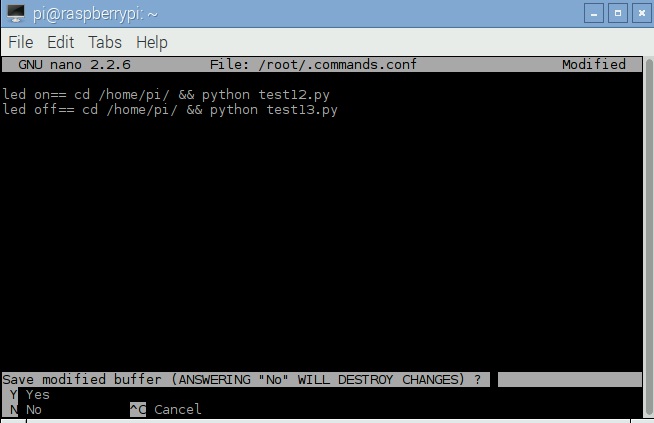 ‘LED ON‘ will be the voice command, when we speech out the same on microphone the software will compare it with the words in the config file. If any word is matched, the corresponding action will processed. In our case, it will go to the pi directory and execute the python code test12.py.
 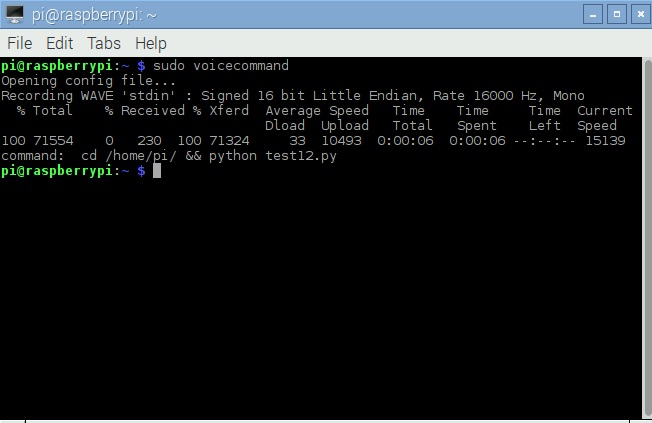 To run the software in a continuous mode you could use the command: sudo voicecommand -c. Though we have demonstrated all of this with a simple LED blinking procedure, you might have realized the potential it carries for high end applications. Thats up to you to explore!! If you do let us know of your project, we would be happy to hear from you guys 🙂
Leave a Reply
You must be logged in to post a comment.