Raspberry Pi 3: Data Communication Over GPRS
The Internet revolutionized how people communicate and work together. It ushered in a new era of free information for everyone, transforming life in ways that were hard to imagine in its early stages. Why don’t we try the capabilities it could offer for data communication in a Raspberry Pi system? in this simple example here, we establish a server client communication using TCP/IP protocol on Raspberry Pi 3. As in most of our recent posts, we prefer Raspberry pi 3. Ask me why? With built-in WiFi accessing internet on it is as easy as A..B..C… In this example here, we have used a smartphone hotspot to provide internet to our Raspberry Pi.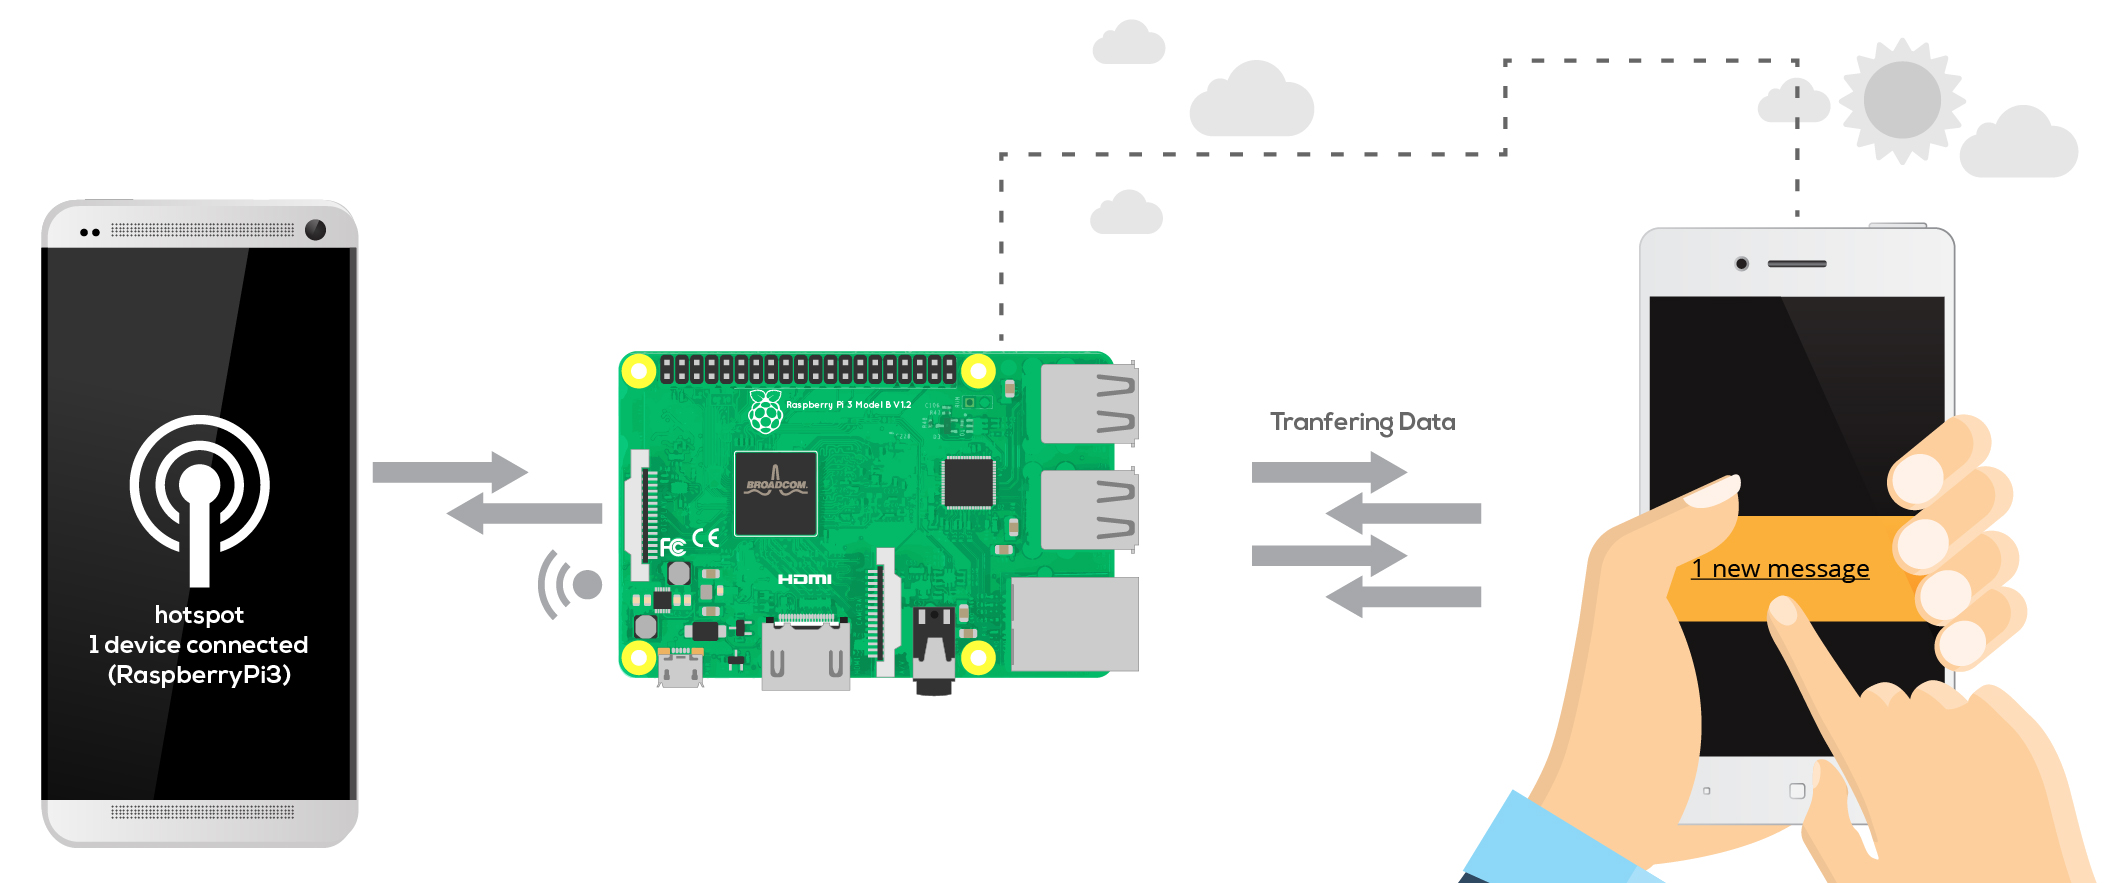
Hardware Requirements:
- Raspberry Pi 3
- Android phone with internet
Software Requirements
- Port Forwarder (Android App)
- TCP Client (Android App)
Power up the Pi. Provide proper internet access to it from the hotspot created on your Android Smartphone. Port Forwarding technique is implemented to To perform live data streaming accessible from round globe. Click here to know more about Port Forwarding.
In our case the Android Smartphone with Hotspot on will act as the router and the Raspberry Pi will be the target device. The IP address of the device must be port forwarded to the target device to perform live data streaming. Download the Port Forwarder app from Google Play and install it on your Android phone (router). Enable ‘Data Access’ on your phone and create a hotspot, connect the Pi to this hotspot.
Now, open the LX Terminal and type hostname -I to get the host IP address.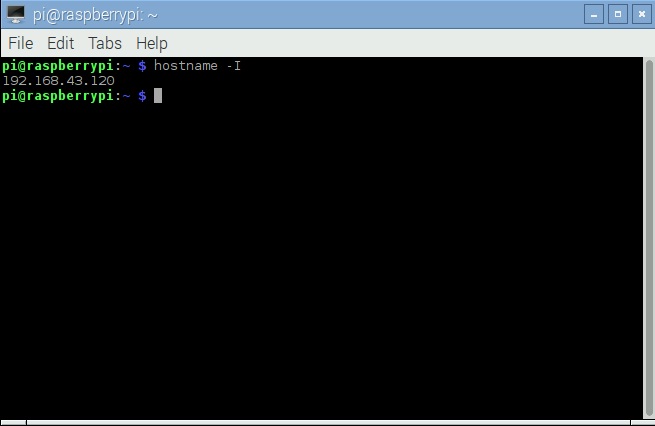 In the mobile device open the port forwarder app.
 Select the IP settings, and a new screen will appear.
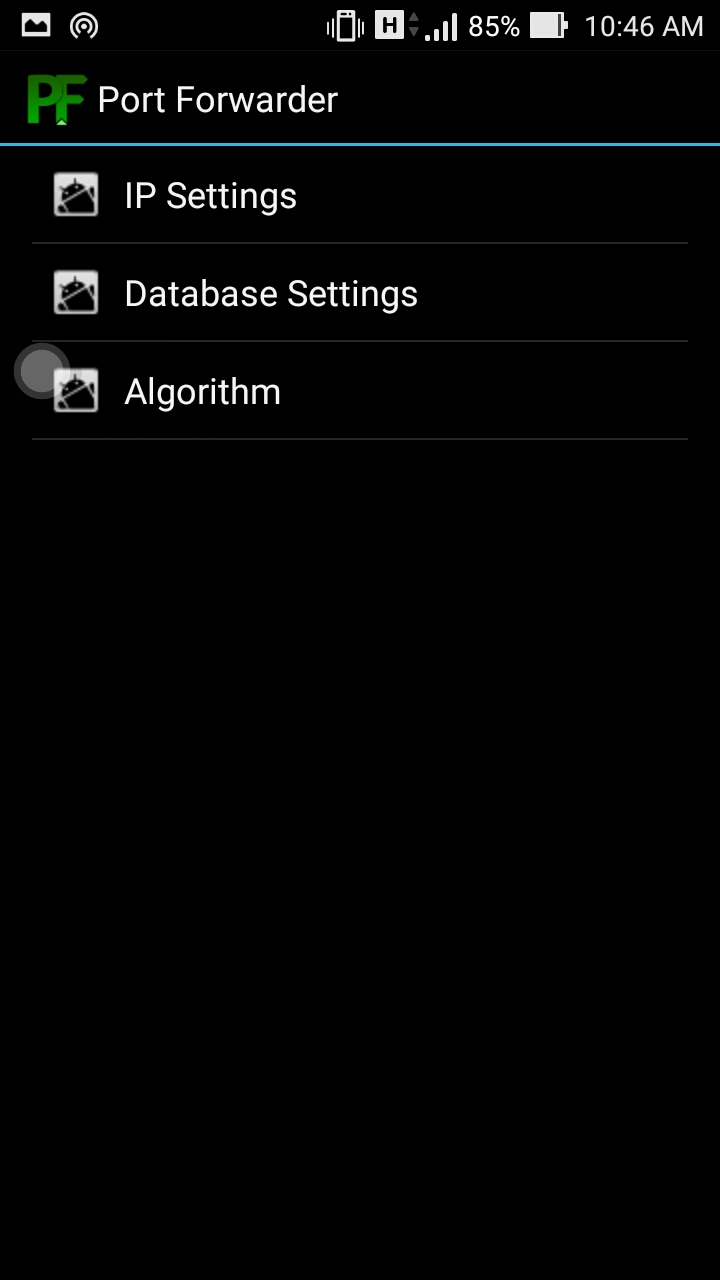
Enter the target IP (obtained from Pi) 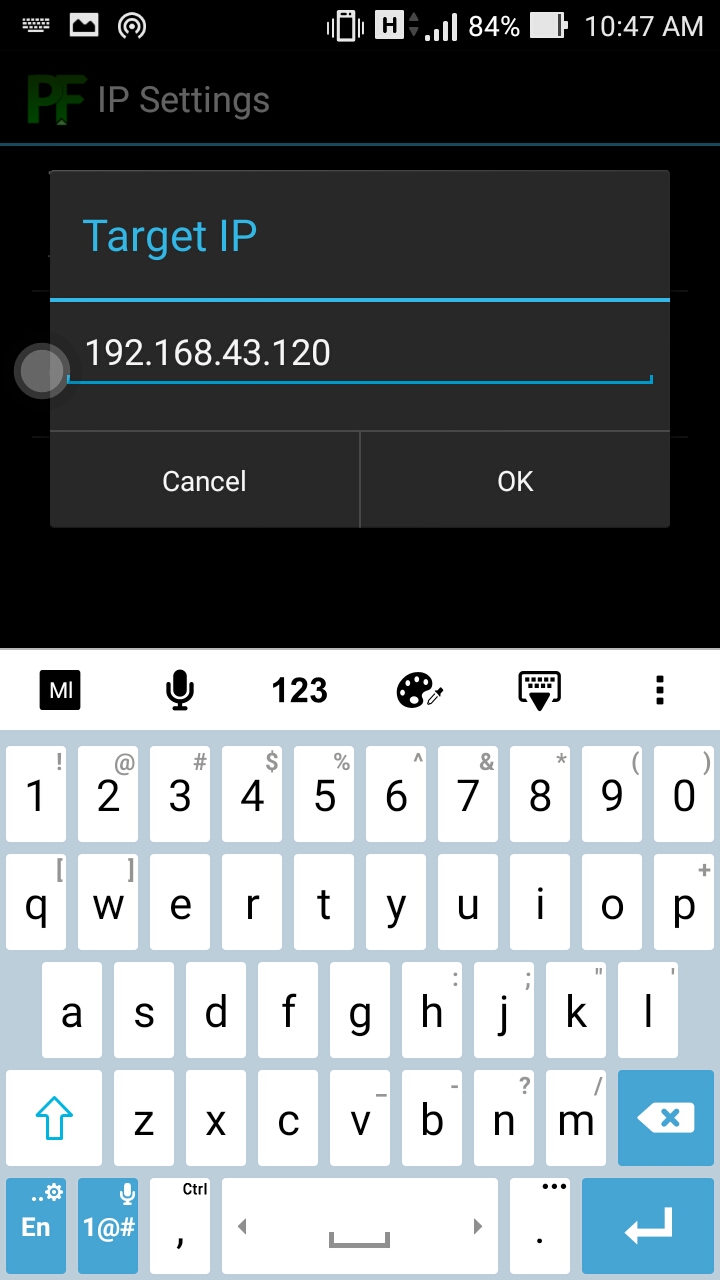 Select the public interface, used for inbound connections.
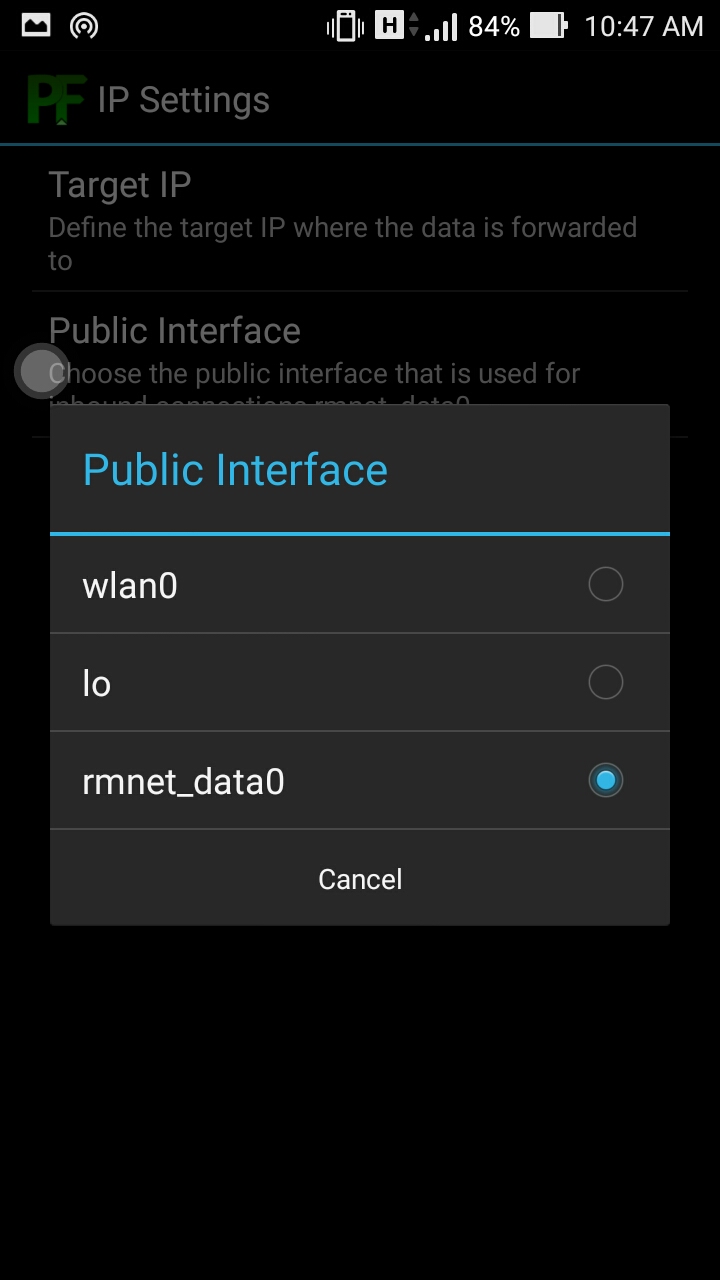 Then from the main screen select this icon,
 to add the port number of the device.
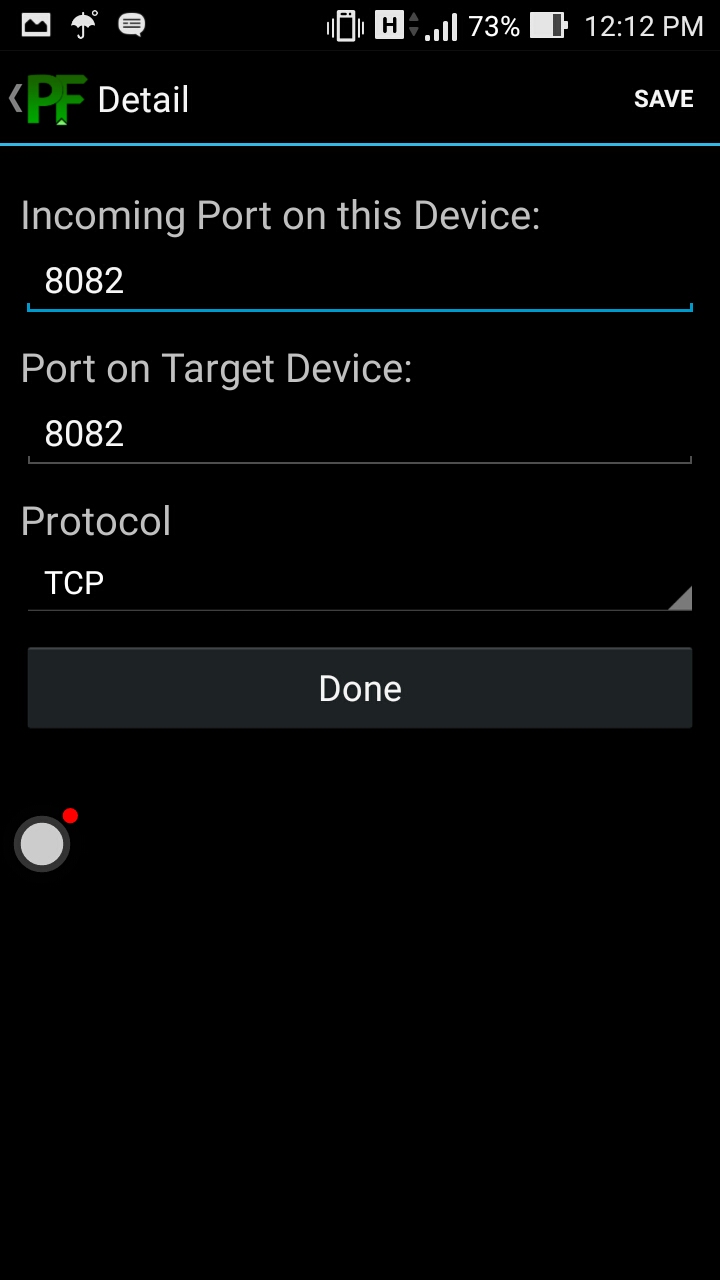
Enter the port number as shown in the figure above , ie the port number for the mobile and the target should be the same. After that the main screen will appear in this format,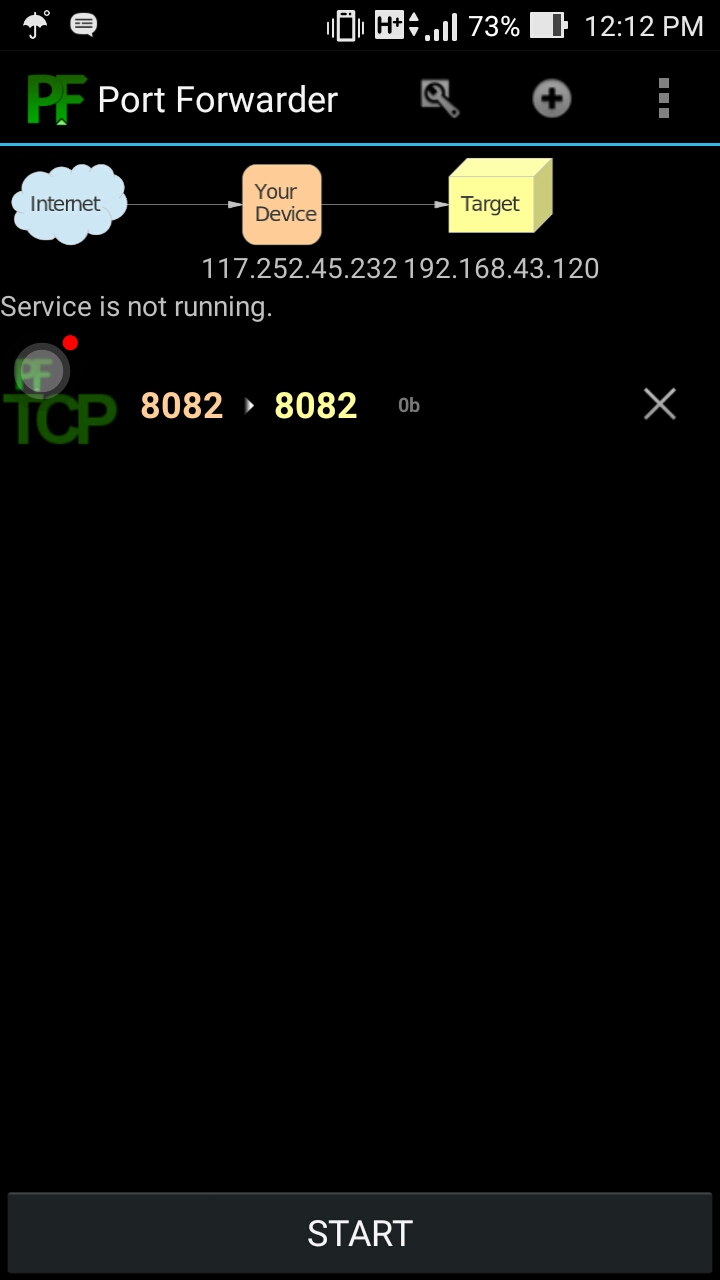 Press the start button to enable the Port Forwarding.
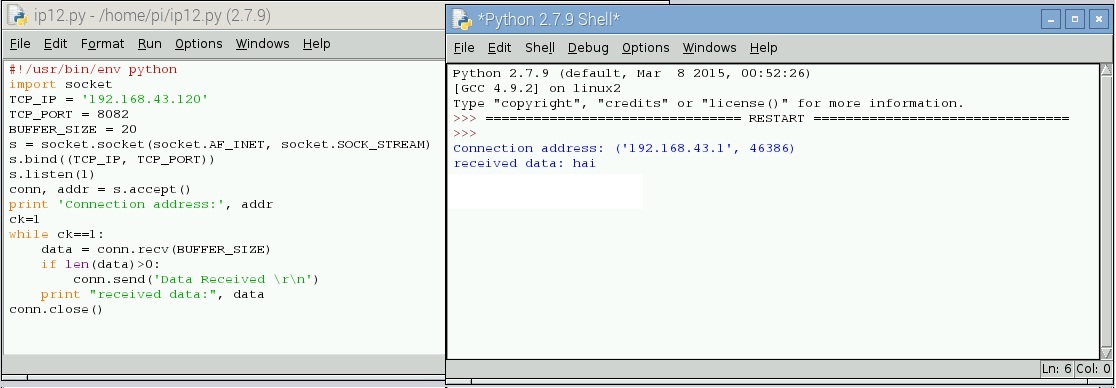
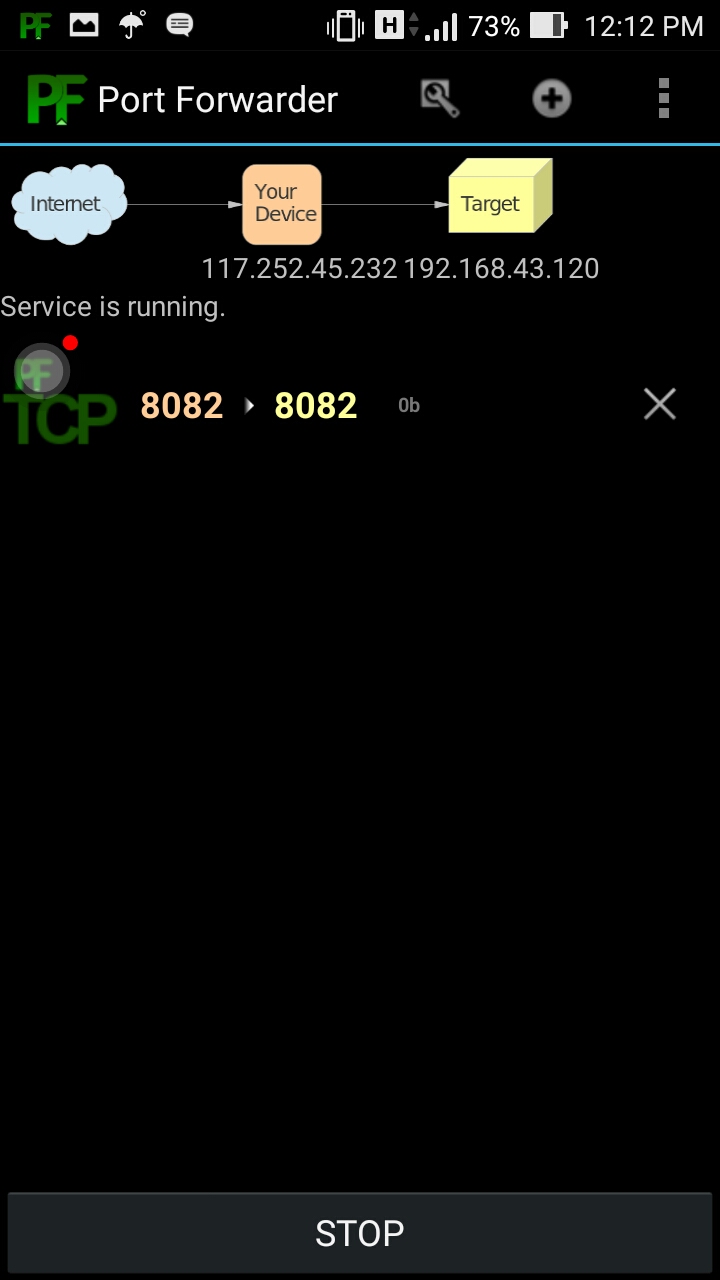 On your Pi open a new python file to write a code for sending and receiving data through internet. Given below is the sample code for receiving data from a client device and display it on the python shell. An acknowledgement is also returned back to the client device while the data is received.
|
1 2 3 4 5 6 7 8 9 10 11 12 13 14 15 16 17 |
#!/usr/bin/env python import socket TCP_IP = '192.168.43.120' TCP_PORT = 8082 BUFFER_SIZE = 20 s = socket.socket(socket.AF_INET, socket.SOCK_STREAM) s.bind((TCP_IP, TCP_PORT)) s.listen(1) conn, addr = s.accept() print 'Connection address:', addr ck=1 while ck==1: data = conn.recv(BUFFER_SIZE) if len(data)>0: conn.send('Data Received \r\n') print "received data:", data conn.close() |
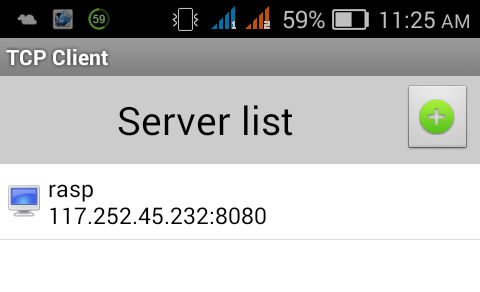
The port number and IP address should be given in correct format as shown in the mobile device. Run the code and it will wait for a client that is to be connected. Create a client object for sending data to the RPi module which is now a server. Select another mobile and download the TCP Client app. Open the app and select the add icon to add a new server. Enter a name for the server and the IP. The IP can be seen in the main screen of the port forwarder app, which is under the Your Device icon. Enter the same port number also and add the server.
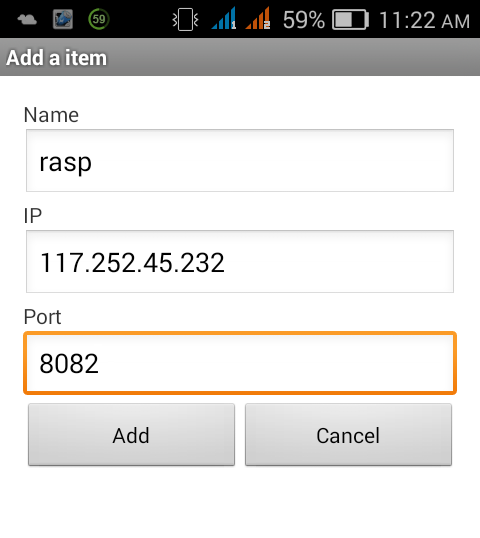
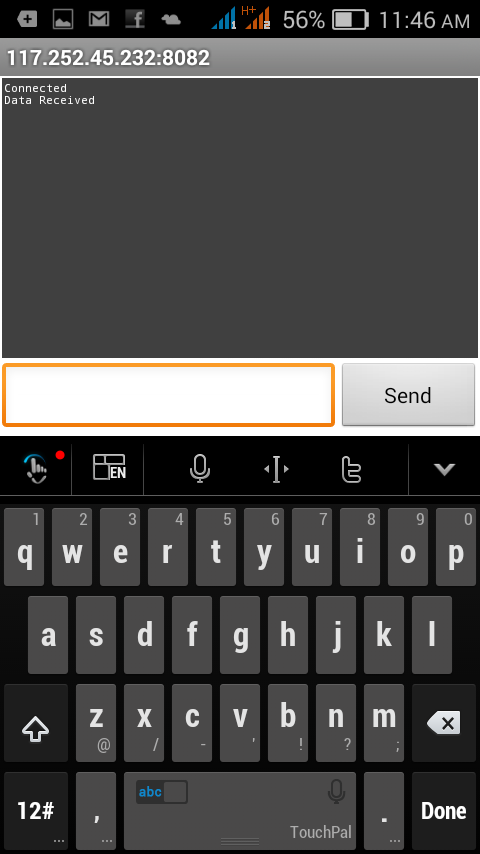
 Now run the python code (provided above). A new screen will appear in which there is an option to type and send the data and the received data is shown in the top screen. Now the connection is established showing the acknowledgements in the python shell and in the TCP client app as shown in the figures given below.
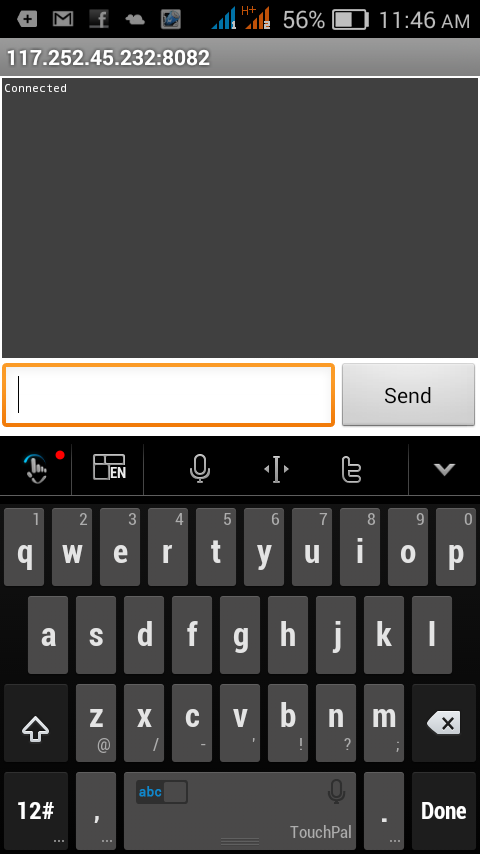 Type any data in the given space of the app and click the send button. The data will be received in the python shell and as in the code a string named ‘Data Received’ will be send back to the client.
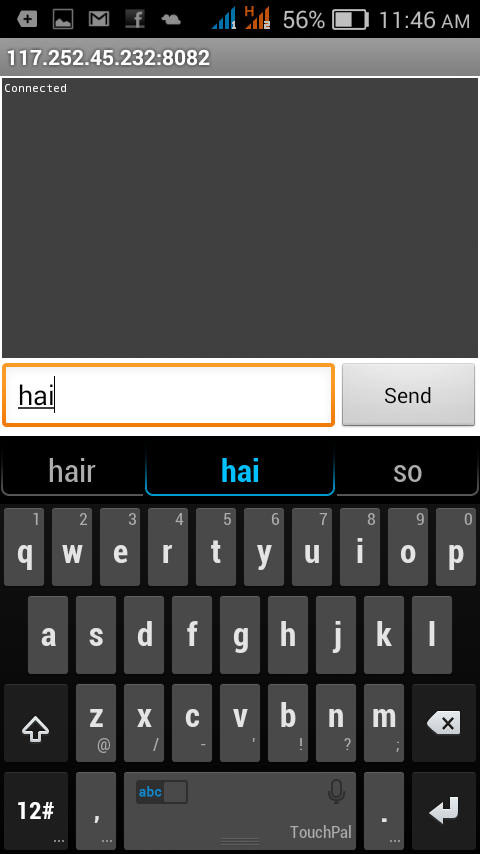
 This system could be effectively used to stream live data from various sensors connected to the Raspberry Pi and to communicate with authenticated clients. Try It. 🙂
Leave a Reply
You must be logged in to post a comment.