READING A VALUE FROM SERVER AND CONTROLLING RELAY IOT BOARD

IoTLABZ introduce a new Relay IOT board that can be easily used for industrial or home automation projects and experiments. This is a double Relay board which has esp8266 on board chip with a 3 pin RMA connecter to connect a sensor and also has 100-230VAC to 5V DC converter on the same board. It can be programmed using FTDI/CP2102. The board is manufactured with Automatic Pick and place machine with high quality standard. We can control the on-board relay from the cloud using wifi connectivity or develop your own firmware .
The wifi module(esp8266) used to Post data(sensor value) to a server as per the code uploaded in it. The on-board SMPS module is mounted on the board so that you can supply 5V DC from 120V AC – 230V AC and has a power rating of 3 Watt. This make it perfect for small projects that needed a 5V supply from mains.
So in this post we will go beyond the boundaries of the local network and access the board over the internet. In this post i would like to post a temperature sensor value and post it to a server. We can access this value from anywhere using an android application for completing this task by using ThingSpeak.
What is ThingSpeak?
ThingSpeak is an open source Internet of Things (IOT) application and API to store and retrieve data from things using HTTP protocol over the internet or via a local area Network. ThingSpeak platform that let you collect and store sensor data in the cloud and develop IOT application. The ThingSpeak IOT platform provides application that let you analyse and visualize your data in graph and then act on that data.The data is send to Thingspeak from our Relay IOT Board.
ThingSpeak act as a data collector which collects data from the IOT board and also enable the data to be pulled into a software environment for historical analysis of data.
How to create a ThingSpeak account?
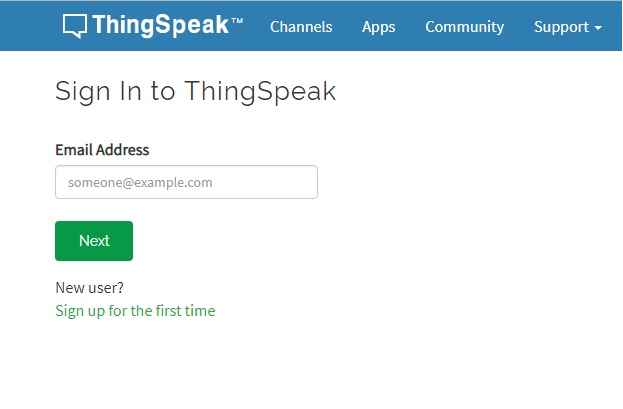
Press the Sign in button and enter the Email id and Password.
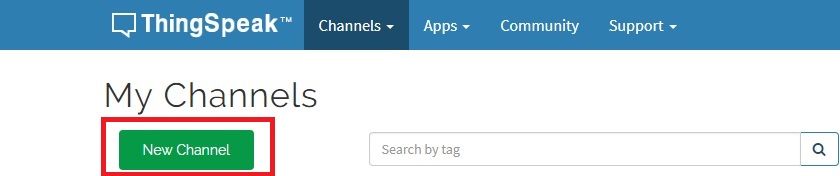
After Sign in and press on New Channel button.
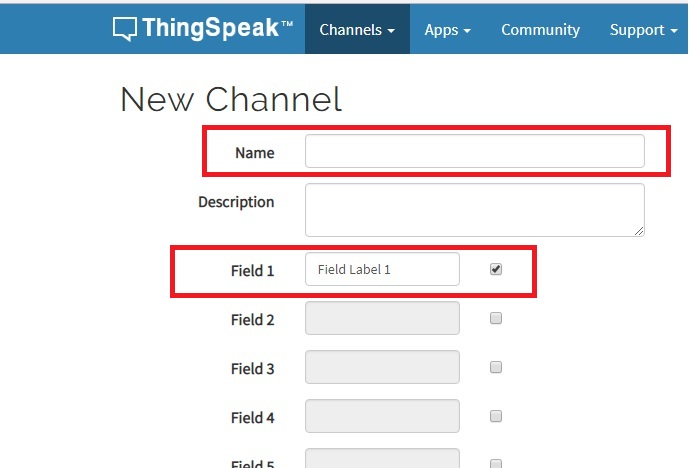
 Enter the Name, Description, and select the Field 1 (Here we are uploading only one sensor value so we select only one field other wise you can select as much of field as number of sensors).
You can modify the field, axis, private view and public view of the channel.

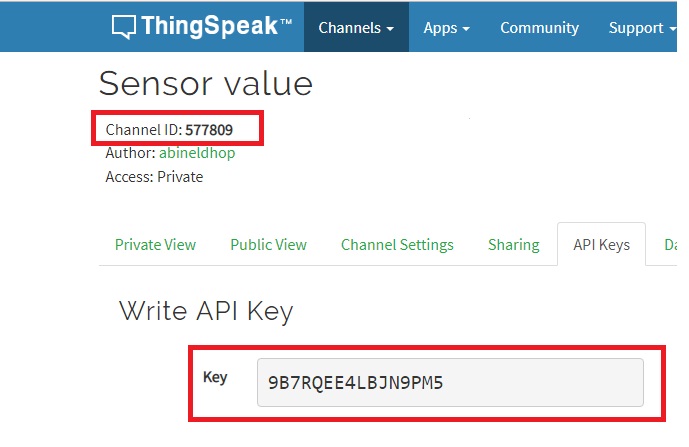
Now copy the API key and Channel ID, insert it in your code written in Arduino IDE .
In this example we set the IOT Board as Client and the value is read from Server and work as per the read data.The commands to control the Relay is uploaded (POST) to Server using android application. Each 10 sec we read the command.For each relay we are using different fields.
|
1 2 3 4 5 6 7 8 9 10 11 12 13 14 15 16 17 18 19 20 21 22 23 24 25 26 27 28 29 30 31 32 33 34 35 36 37 38 39 40 41 42 43 44 45 46 47 48 49 50 51 52 53 54 55 56 57 58 59 60 61 62 63 64 65 66 67 68 69 70 71 72 73 74 75 76 77 78 79 80 81 82 83 84 85 86 87 88 89 90 91 92 93 94 95 96 97 98 99 100 101 102 103 104 105 106 107 108 109 110 111 112 113 114 115 116 117 118 119 120 121 122 123 124 125 126 127 128 129 130 131 132 133 134 135 136 137 138 139 140 141 |
#include "ThingSpeak.h" #include <ESP8266WiFi.h> const char ssid[] = "********"; // your network SSID (name) const char pass[] = "*******"; // your network password #define RELAY1 12 #define RELAY2 13 #define RELAY3 14 #define RELAY4 16 WiFiClient client; //---------Channel Details---------// unsigned long counterChannelNumber = 1234; // Channel ID const char * myCounterReadAPIKey = "*************"; // Read API Key const int FieldNumber1 = 1; // The field you wish to read const int FieldNumber2 = 2; // The field you wish to read const int FieldNumber3 = 3; // The field you wish to read const int FieldNumber4 = 4; // The field you wish to read //-------------------------------// void setup() { Serial.begin(115200); WiFi.mode(WIFI_STA); ThingSpeak.begin(client); } void loop() { //----------------- Network -----------------// if (WiFi.status() != WL_CONNECTED) { Serial.print("Connecting to "); Serial.print(ssid); Serial.println(" ...."); while (WiFi.status() != WL_CONNECTED) { WiFi.begin(ssid, pass); delay(5000); } Serial.println("Connected to Wi-Fi Succesfully."); } //--------- End of Network connection--------// //---------------- Channel 1 ----------------// Serial.print("Reading field 1 "); long R_Status = ThingSpeak.readLongField(counterChannelNumber, FieldNumber1, myCounterReadAPIKey); int statusCode = ThingSpeak.getLastReadStatus(); if (statusCode == 200) { Serial.print("Read field 1 Successful "); // Serial.println(temp); } else { Serial.println("Unable to read channel / No internet connection"); } Serial.println(R_Status); if(R_Status==1) { digitalWrite(RELAY1, HIGH); //Relay 1 ON Serial.println("Relay 1 ON"); } if(R_Status==2) { digitalWrite(RELAY1, LOW); //Relay 1 OFF Serial.println("Relay 1 OFF"); } Serial.print("Reading field 2 "); delay(5000); long R_Status2 = ThingSpeak.readLongField(counterChannelNumber, FieldNumber2, myCounterReadAPIKey); int statusCode2 = ThingSpeak.getLastReadStatus(); if (statusCode2 == 200) { Serial.print("Read field 2 Successful "); // Serial.println(temp); } else { Serial.println("Unable to read channel / No internet connection"); } Serial.println(R_Status2); if(R_Status2==1) { digitalWrite(RELAY2, HIGH); //Relay 2 ON Serial.println("Relay 1 ON"); } if(R_Status2==2) { digitalWrite(RELAY2, LOW); //Relay 2 OFF Serial.println("Relay 1 OFF"); } Serial.print("Reading field 3 "); delay(5000); long R_Status3 = ThingSpeak.readLongField(counterChannelNumber, FieldNumber3, myCounterReadAPIKey); int statusCode3 = ThingSpeak.getLastReadStatus(); if (statusCode3 == 200) { Serial.print("Read field 3 Successful "); // Serial.println(temp); } else { Serial.println("Unable to read channel / No internet connection"); } Serial.println(R_Status3); if(R_Status3==1) { digitalWrite(RELAY3, HIGH); //Relay 3 ON Serial.println("Relay 3 ON"); } if(R_Status3==2) { digitalWrite(RELAY3, LOW); //Relay 3 OFF Serial.println("Relay 3 OFF"); } Serial.print("Reading field 4 "); delay(5000); long R_Status4 = ThingSpeak.readLongField(counterChannelNumber, FieldNumber4, myCounterReadAPIKey); int statusCode4 = ThingSpeak.getLastReadStatus(); if (statusCode4 == 200) { Serial.print("Read field 4 Successful "); // Serial.println(temp); } else { Serial.println("Unable to read channel / No internet connection"); } Serial.println(R_Status4); if(R_Status4==1) { digitalWrite(RELAY4, HIGH); //Relay 4 ON Serial.println("Relay 4 ON"); } if(R_Status4==2) { digitalWrite(RELAY4, LOW); //Relay 4 OFF Serial.println("Relay 4 OFF"); } delay(10000); // ThingSpeak will only accept updates every 10 seconds. } |
In this post we are uploading the data(command to the fields through a mobile application.For each relay we are posting the data to different fields(For Relay1-Field1,Relay2-Field2,Relay3-Field3 ,Relay4-Field4).
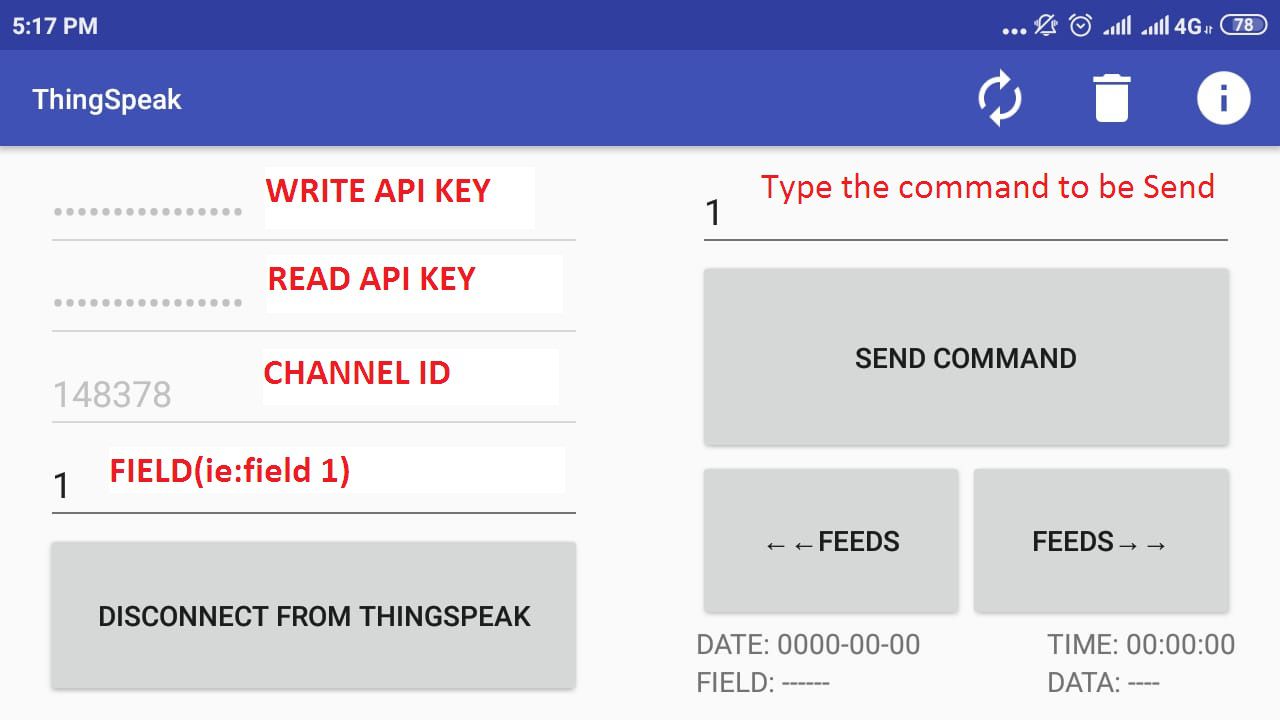
First we want to enter our Write API Key,Read API KEY,Channel ID and press Connect to Thingspeak button.
Enter the Field number to which command want to send.Enter the command in command Box and press SEND COMMAND button.
Leave a Reply
You must be logged in to post a comment.